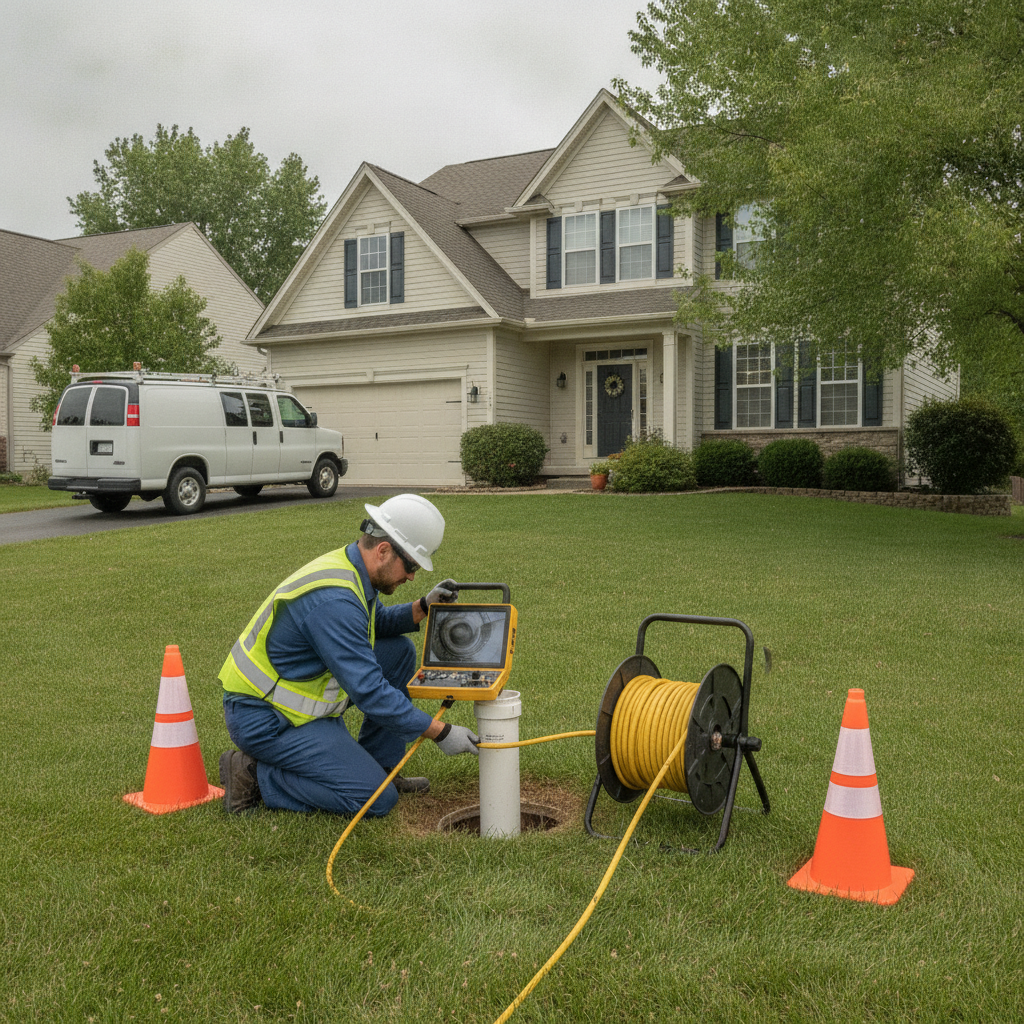
Sewer system inspection is a focused evaluation of a home’s buried drain line using a video camera to identify blockages, cracks, root intrusion, and defects. It typically documents 50–150 feet of pipe from the home to the municipal connection. For Suite 2000 homeowners in Toronto, ON, pairing a sewer scope with a residential home inspection prevents surprise repairs.
By Asmhomeinspection • Last updated: 2026-06-11
At a Glance
A sewer system inspection uses a high-resolution camera to evaluate the main drain from your home to the street connection. It reveals root intrusion, offsets, bellies, cracks, and blockages. Order it before closing, after backups, or during annual maintenance to avoid emergencies and negotiate repairs with confidence.
This complete guide explains what a sewer system inspection is, why it matters for property due diligence, how a camera scope works, when to order one, and how findings are integrated into same-day PDF reports. You’ll learn practical steps to coordinate with sellers, request cleanout access, and interpret results in plain language.
- Clear definition of sewer scoping and how it fits into a home inspection workflow.
- When to schedule a sewer scope during pre-purchase, pre-listing, or annual maintenance.
- Common defects (roots, offsets, bellies, cracks) and what each means for risk.
- Step-by-step process to run and document a video inspection in 60–90 minutes.
- Best practices to protect negotiations and avoid mid-winter drain emergencies.
What Is a Sewer System Inspection?
A sewer system inspection is a video assessment of the home’s main drain (sewer lateral) using a push-camera. Inspectors document pipe material, slope changes, joints, and defects over 50–150 feet. The record includes timestamps, depth markers, and recommendations so buyers and owners can make clear maintenance or repair decisions.
In simple terms, a sewer scope sends a camera through your main drain to the city connection. The technician records continuous footage, notes distances in feet, and flags defects with on-screen markers. Most residential laterals are 3–4 inches in diameter and run 60–120 feet, so the camera reel must reach at least 100 feet.
- Main goal: verify the sewer lateral is clear, structurally sound, and free of chronic issues.
- Typical scope length: 60–120 feet; some lots require 150 feet or more.
- Common materials: clay, cast iron, ABS/PVC; each ages differently over 30–80+ years.
- Key indicators: standing water (belly), joint offsets (misalignment), cracks, roots, grease.
- Deliverable: sharable video clip(s) plus a written summary of findings and next steps.
For our residential home inspections across the GTA, we routinely recommend a sewer system inspection when homes predate modern piping or show slow drains. In our experience, pairing the lateral video with our same-day PDF home inspection report gives buyers a single, organized package for negotiations.
Why Sewer Inspections Matter for GTA Buyers and Owners
Sewer inspections catch hidden, high-impact risks before they become emergencies. Video evidence helps buyers negotiate repairs, helps owners prevent backups, and informs maintenance decisions. In older properties, clay or cast iron laterals often show wear after 40–60 years, so early detection prevents multiple service calls.
Backups rarely happen at a “good” time. We’ve seen homeowners fight recurring clogs every 3–6 months until a scope reveals a root-choked joint 70 feet out. A 10-minute clip can settle debates fast. For due diligence, video proof is stronger than a one-time snaking result because it shows actual conditions rather than temporary flow.
- Negotiation leverage: pre-purchase scoping provides objective footage and footage timestamps.
- Seasonal realities: freeze-thaw cycles can shift soil a few millimeters each winter, stressing joints.
- Usage spikes: hosting guests can increase wastewater volume 2–3x, exposing marginal slopes.
- Aging pipes: cast iron corrosion typically accelerates after 40–50 years; clay joints often leak earlier.
- Moisture control: wet soil near foundations increases intrusion risks—an issue we monitor closely.
Why this matters to you: moisture intrusion and hidden leaks are two issues we call out daily in our home inspection reports. A leaking lateral can keep soil damp year-round and attract roots, which worsens infiltration over time. Pairing the lateral video with your inspection helps you plan maintenance on a 12–24 month cycle.
Local considerations for Suite 2000
- Older pockets of Toronto housing stock often include clay laterals; root intrusion tends to spike mid-summer when soil is driest.
- Early spring thaws and heavy fall rains can drive inflow that exposes bellies or weak joints during high-flow days.
- If you’re scheduling during winter, ensure exterior cleanouts aren’t frozen under snow; allow 15–20 extra minutes for access.
How a Sewer Scope Works (Step-by-Step)
A technician inserts a push-camera through a cleanout and advances 60–150 feet while recording. They mark distances, note defects, and confirm flow at the municipal tie-in. The visit typically takes 60–90 minutes, and you receive the raw video plus a written summary of findings and recommendations.
Here’s the process we advise when coordinating a sewer system inspection alongside your pre-purchase home inspection. It keeps everyone on schedule and ensures the right evidence is captured on the first visit.
- Confirm access: seller or property manager locates the cleanout (interior or exterior) and ensures clearance within 3–4 feet.
- Pause heavy water use: avoid laundry and long showers for 45–60 minutes to reduce turbulence during scoping.
- Initial push: camera enters the 3–4 inch line; a locator can trace depth to 3–10 feet underground as needed.
- Record continuously: maintain uninterrupted video and call out distances every 5–10 feet for clear documentation.
- Identify materials: note transitions (e.g., cast iron to clay at 35 feet) and joint spacing patterns.
- Document defects: mark roots, offsets, bellies, cracks, and obstructions with on-screen timestamp notes.
- Reach the tie-in: verify the municipal connection at approximately 60–120 feet, depending on the lot.
- Retract slowly: re-check notable joints on the way back and capture close-up stills if needed.
- Deliverables: provide a 5–15 minute video segment and a written summary with next steps.
- Integrate with report: include key findings in the same-day PDF home inspection report for a single reference.
When we complete your residential home inspection, we integrate the sewer scope summary directly into our same-day PDF so your agent and the seller have one package. That single file often shortens decision time by 24–48 hours because stakeholders aren’t chasing scattered attachments.
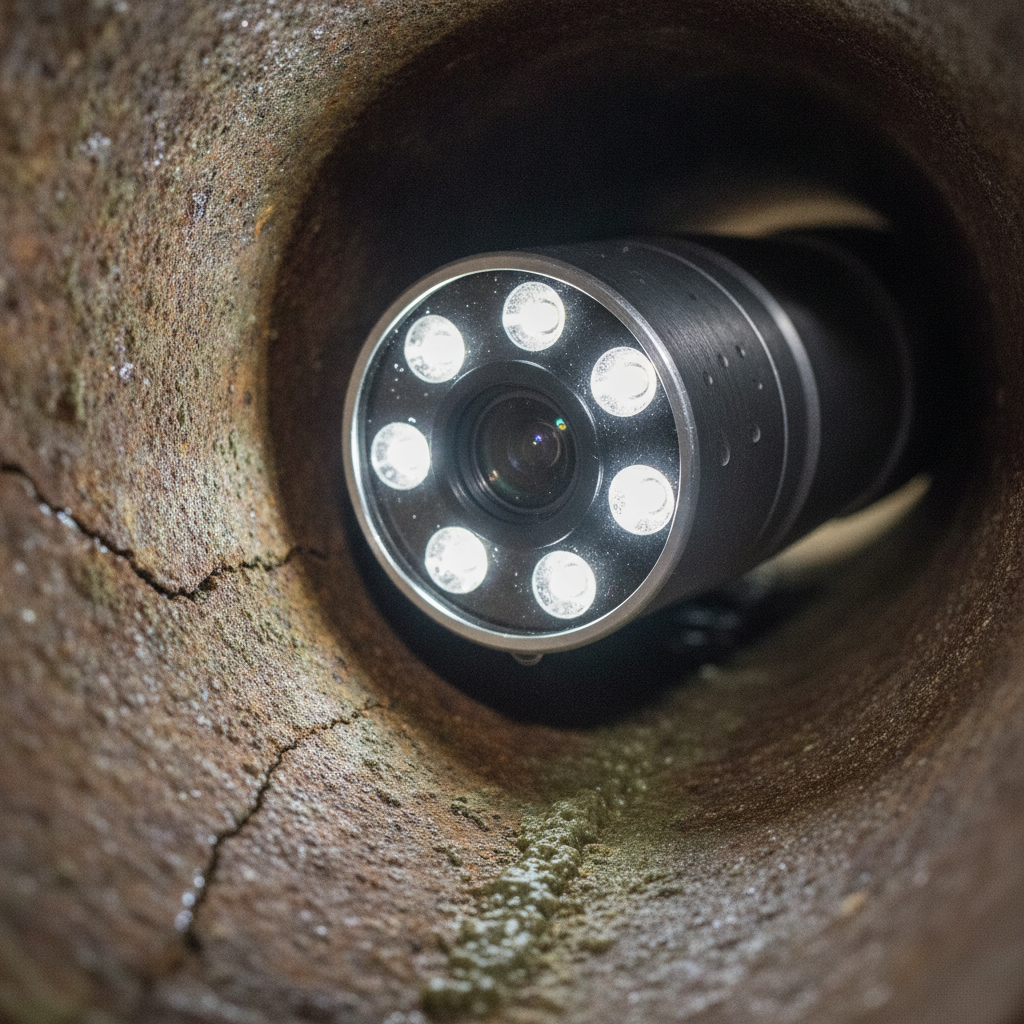
If you want a deeper dive into camera operation basics, see this primer on how drain video inspection works for general background. We recommend focusing on consistent video quality (stable lighting, steady advancement) and accurate distance callouts every 5–10 feet.
Types of Sewer Inspections and When to Use Them
Most homes benefit from a video camera scope. In special cases, dye or smoke tests can confirm leaks or cross-connections. Choose the method based on symptoms: backups, odors, surface seepage, or suspected cross-connection with storm drains.
Different tests answer different questions. We encourage clients to start with video because it provides direct visual evidence. When symptoms suggest ventilation or cross-connection issues, supplemental tests help triangulate the cause.
| Method | Primary Purpose | Best Use Case | What You Get |
|---|---|---|---|
| Video camera scope | Visualize pipe interior | Due diligence before closing; recurring backups every 3–6 months | 5–15 minute video, defect timestamps, footage to 60–150 feet |
| Dye test | Trace flow path | Suspected leaks near foundation or yard seepage after rain | Color-tracked confirmation of leak path to soil or drain |
| Smoke test | Detect vent leaks/odors | Persistent sewer gas with no visible video defects | Plumes indicate vent or fitting leaks above the slab |
| Flow/fixture test | Measure drain response | Slow drains on upper floors; suspected partial blockage | Observed performance under controlled volume (e.g., 5–10 gallons) |
- Video first: for 80–90% of homes, a camera scope answers the big questions fast.
- Add dye or smoke: when odors persist or seepage appears in soil with no obvious defects.
- Re-scope after cleaning: if a blockage was cleared, confirm the line condition within 24–72 hours.
In our reports, we clearly separate “observed defects” from “further evaluation recommended.” That distinction helps you plan the next 1–2 steps instead of guessing. Where appropriate, we reference a general explainer on the benefits of sewer video so clients understand the value of permanent footage.
Common Defects We See and What They Mean
The most common sewer scope defects are root intrusion, joint offsets, bellies (standing water), cracks, and heavy scale. Severity depends on length, depth, and whether solids snag. Video evidence helps prioritize cleaning, repairs, or monitoring over the next 6–24 months.
Here’s a plain-language rundown of typical findings and how we frame next steps in a home inspection context. The goal is to separate urgent “flow-blocking” issues from age-related wear that can be monitored with maintenance.
- Root intrusion: hair-like roots at joints often thicken within 6–12 months; heavy mats can block 50%+ of the pipe.
- Joint offsets: misaligned joints catch solids; a lip of 1/4–1/2 inch can trigger recurrent clogs.
- Bellies/sags: 5–10 feet of standing water increases grease deposition and slows flow velocity.
- Cracks/fractures: longitudinal cracks let soil in and water out; watch for sand/grit at the bottom of the pipe.
- Heavy scale/corrosion: cast iron can roughen after 40–60 years, snagging paper even with good slope.
- Collapsed sections: ovalized or pinched segments often occur near tree roots or heavy vehicle loads.
- Grease buildup: kitchen lines with frequent frying show layered deposits after 12–24 months.
- Missing cleanout: lack of accessible cleanout increases service time and makes future scoping harder.
- Backflow device concerns: stuck flappers or debris can cut flow by 20–40% until serviced.
We assign severity with a practical lens:
- Red (urgent): blockage, collapse, or severe offset with solids catching within 5–10 feet.
- Yellow (plan): roots, scale, or bellies that cause slow drains every 6–12 months.
- Green (monitor): minor wear consistent with age; re-scope in 12–24 months.
We’ve found that adding 3–5 annotated stills to the same-day PDF home inspection report makes complex clips easier to digest. A single image of a 50% root mass at 72 feet, paired with a sentence or two, can be enough for fast decisions.
Best Practices: Ordering and Interpreting a Sewer System Inspection
Schedule a sewer scope before removal of conditions or listing your home. Confirm cleanout access, pause heavy water use, and request full-length video with distance markers. Use the footage to prioritize cleaning, spot repairs, or monitoring over a 6–24 month plan.
These steps reduce rework, save time on site, and give you clear evidence the first time the line is scoped. They also make it easier for your agent to reference facts during negotiations.
- Align timing: book the scope to overlap your pre-purchase inspection window.
- Request deliverables: ask for the raw MP4 file (often 200–500 MB) and a 1–2 page summary.
- Verify distances: ensure callouts every 5–10 feet and a clear confirmation of the municipal tie-in.
- Capture transitions: document material changes (e.g., ABS to clay) and note at what foot-mark they occur.
- Secure permissions: get written approval to access interior/exterior cleanouts and roof vents if applicable.
- Pause flows: avoid laundry cycles and long showers for 45–60 minutes during the scope.
- File naming: standardize with address (or MLS ID) + date + “sewer-scope.mp4” for easy retrieval.
- Integrate reporting: have key findings summarized in the same-day PDF home inspection report.
From our experience, these simple moves cut rescheduling by 30–40% and produce a video that stands up in negotiations. If you prefer more background about the benefits, this overview on drain and sewer video inspection gives helpful context.
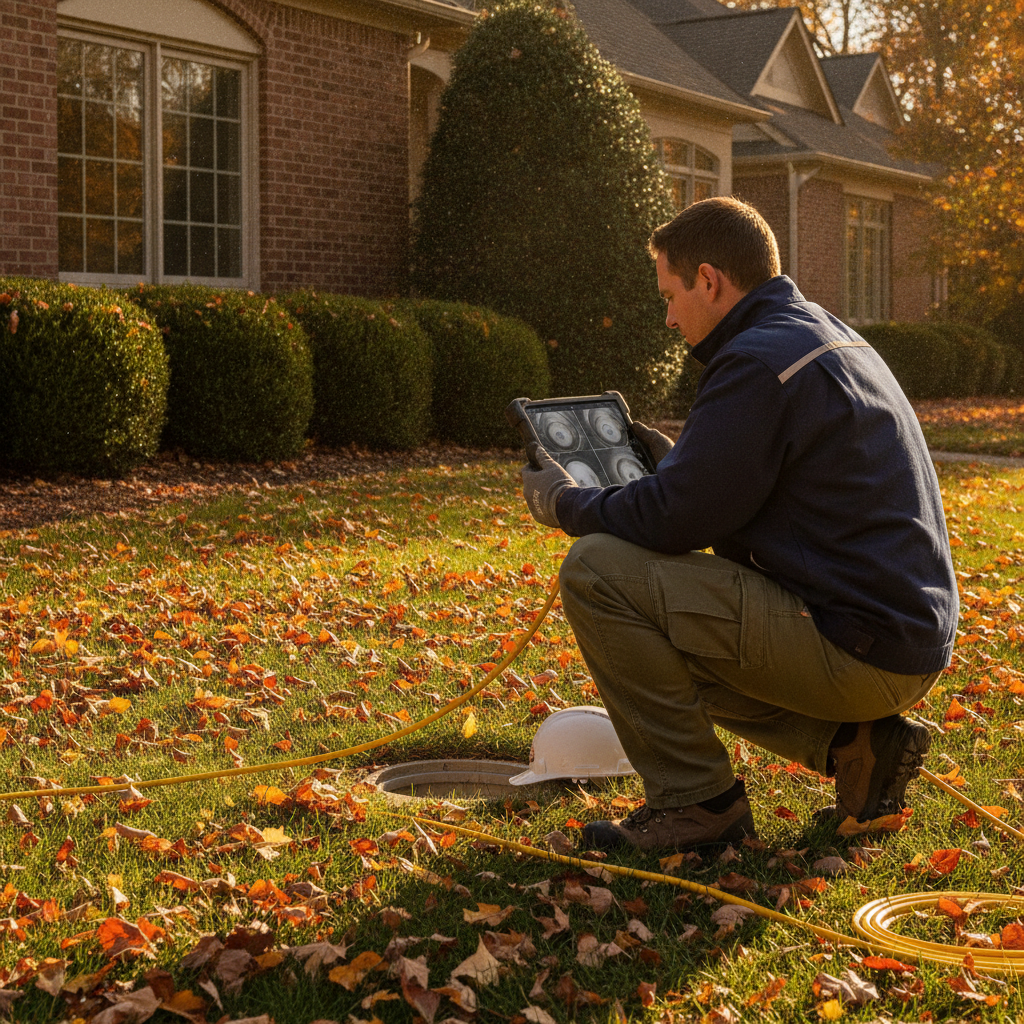
Need help coordinating? We routinely align sewer scopes with our residential home inspections across the GTA so you get one organized, same-day PDF package.
Tools and Resources: What Professionals Use
Professional scopes rely on push-cameras with self-leveling heads, sonde locators, and reels reaching 100–200 feet. Good lighting, steady advancement, and accurate distance overlays are essential. Keep raw MP4 video and a written summary so agents and contractors can review evidence later.
For context, here are common tools a drain specialist may bring to your property and why they matter during documentation. Understanding the rig helps you request the right deliverables up front.
- Camera head: often 1–1.5 inches with LED array; self-leveling to keep the “up” orientation consistent.
- Push rod and reel: 100–200 feet of semi-rigid rod that protects cable and stabilizes footage.
- Sonde/locator: handheld receiver tracks the head underground within 1–2 feet for depth/position.
- Distance overlay: on-screen counter shows exact foot-mark to match your written notes.
- Jetting/cleaning kit: used before or after scoping if blockages prevent full-length inspection.
On delivery, we recommend you archive raw video plus a 1–2 page summary inside your transaction folder. Keeping both reduces back-and-forth with agents and sellers and speeds up contractor quotes by 24–72 hours.
Case Studies and Examples (GTA Context)
Real examples show how sewer scopes change outcomes. In three recent GTA inspections, video evidence converted vague “slow drains” into actionable plans: targeted cleaning within 72 hours, spot repair planning within 30 days, and a simple 12–24 month monitoring schedule.
Here are anonymized mini-cases that mirror what many buyers face. We fold these findings into the same-day home inspection PDF so your negotiation trail stays clean and simple.
- 1950s bungalow, mature trees: a 12-foot root mass at 70–82 feet caused backups every 4–6 months. Video annotated at 5-foot intervals guided a focused cleaning plan and a re-scope 48 hours later to verify clearance.
- 1970s semi-detached: cast iron interior with clay exterior; 6-foot belly with 1–2 inches of standing water. Footage supported a maintenance plan and targeted monitoring after 12 months.
- Newer infill, recent renovation: ABS lateral but a missing exterior cleanout. We recommended adding a cleanout to cut future service times by 30–60 minutes and to enable full-length scoping.
- Multifamily conversion: two kitchens feeding the same stack increased flow by 50–80% at peak. Scope identified scale at upper transitions; scheduling periodic cleaning reduced slow-drain complaints.
What most people don’t realize is that a 10-minute clip can prevent weeks of uncertainty. When buyers see roots swaying at 72 feet, the decision path is clear. That’s the power of visual evidence paired with an organized home inspection report.
Frequently Asked Questions
Homeowners ask when to scope, how long it takes, and what defects mean. Most inspections finish in 60–90 minutes, cover 60–150 feet, and reveal if cleaning, repair, or monitoring is best. Always keep the raw video—footage is your negotiation backup.
When should I order a sewer system inspection?
Order one before closing on a home, when listing a property with older piping, after a backup, or as part of annual maintenance. Combine it with your home inspection window so findings flow into one same-day PDF report and your agent has immediate, objective evidence.
How long does a sewer scope take and what do I receive?
Most visits take 60–90 minutes, including setup and documentation. You should receive a 5–15 minute MP4 video showing the entire line to the tie-in plus a brief written summary. Keep both files so contractors and agents can review the same evidence later.
Do I need a sewer inspection in a newer house?
Yes, when symptoms suggest a problem or the property was recently renovated. Construction debris, improper slope, or missing cleanouts can affect even newer lines. A quick scope verifies installation quality and catches defects early while access is simpler.
What if the camera can’t reach the city connection?
If a blockage stops the camera, request cleaning and a re-scope within 24–72 hours to document full line condition. A locator can also mark the blockage depth and position at the surface so quotes address the right segment.
Conclusion and Key Takeaways
Pair a sewer system inspection with your home inspection to de-risk the purchase and reduce surprises. Keep the raw video, prioritize action items, and fold the summary into your same-day PDF report. Visual evidence turns guesswork into clear maintenance and negotiation steps.
- Scope 60–150 feet of the main drain; confirm the tie-in and document defects with timestamps.
- Use video to decide between cleaning, spot repair, or 12–24 month monitoring.
- Coordinate with your home inspection for one organized same-day PDF.
- Request accurate distance callouts every 5–10 feet and keep the MP4 file for your records.
- Schedule before closing or listing to maximize leverage and reduce emergency risk.
Ready to plan your inspection day? We’ll help you coordinate schedules so the sewer scope and the home inspection align. That way, your agent gets one package, and you get decisions in hours—not days.
Next step: Book your residential home inspection with Asmhomeinspection and ask about aligning a same-day sewer video scope for a complete due diligence bundle.