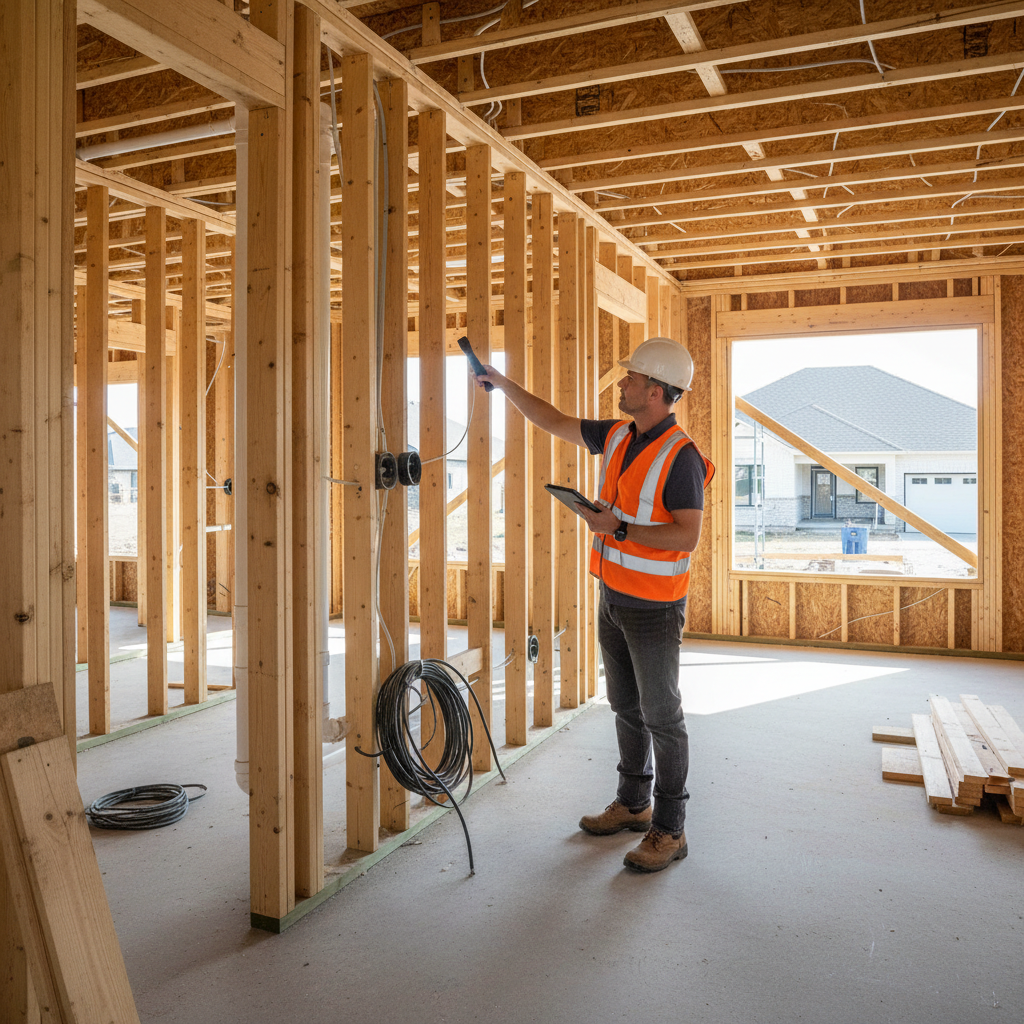
New construction inspection is an independent, third-party evaluation of a brand-new home or building before you take possession. It verifies workmanship, safety, and system performance so you can resolve issues under the builder’s warranty. Around Suite 2000 in Toronto, ON, ASM Home & Commercial Inspection provides same-day PDF reports to keep your closing on track.
By Asmhomeinspection · Last updated: 2026-05-27
Above the fold: hook and table of contents
This complete guide explains exactly how a new construction inspection works, when to schedule each phase, what professionals actually test, and how to use the report for timely builder corrections. You’ll find step-by-step checklists, best practices, tools we rely on, local tips, and real GTA examples.
- What is a new construction inspection?
- Why it matters for buyers, builders, and agents
- How the multi-phase process works
- Inspection types: pre-drywall, pre-closing, 11-month
- Best practices and ready-to-use checklists
- Tools and resources inspectors use
- Case studies from recent GTA builds
- Pricing factors and value (no numbers, just what drives scope)
- FAQ, key takeaways, and next steps
Quick Summary
A new construction inspection finds defects early, before drywall hides them or warranties lapse. Independent inspectors verify framing, electrical, plumbing, HVAC, life-safety devices, grading, and finishes. You’ll receive a same-day PDF prioritized by severity so your builder can correct issues before closing or during the first-year warranty.
Local considerations for Suite 2000
- Seasonal humidity swings demand careful vapor barrier, attic ventilation, and basement moisture checks in new builds.
- High transaction volume means tight timelines; pre-schedule pre-drywall and pre-closing slots as soon as framing dates are posted.
- For multi-unit properties, coordinate access windows with site supervisors so shared systems (fire, ventilation, electrical rooms) are available.
What is a new construction inspection?
A new construction inspection is an independent, system-by-system assessment of a never-occupied home. Inspectors evaluate structure, mechanicals, safety, and finishes across key milestones to document defects for timely builder corrections and to safeguard your warranty rights.
At ASM Home & Commercial Inspection, we tailor this service to Greater Toronto Area housing types and seasonal realities. Our scope complements municipal code checks by focusing on how the whole home actually performs as a system—moisture control, ventilation, electrical protection, water pressure balance, door/window operation, and insulation continuity. Municipal officials confirm code minimums; we focus on livability, performance, and the details buyers notice on day one.
Inspection deliverables include a same-day PDF with annotated photos, defect severity, and suggested trade routing (framing, electrical, plumbing, HVAC, exterior). In our experience, clear documentation accelerates builder responses and keeps possession dates intact.
Why a new construction inspection matters
Even brand-new homes develop punch list items. Independent inspections catch wiring errors, minor plumbing leaks, missing safety devices, under-insulated attics, and grading problems before move-in. Addressing issues pre-closing reduces rework, protects your warranty, and supports a smooth handover.
Here’s the thing: builders coordinate dozens of trades on fast-moving schedules. Small misses happen—an unsealed penetration, a miswired outlet, or a door that rubs. When we document these items with photos and plain-English descriptions, the site lead can assign them by trade and resolve them in hours, not weeks.
- Safety first: We verify GFCI/AFCI protection at required locations, check smoke/CO alarm coverage, and test handrail stability.
- Water management: Proper grading should slope away from the foundation about 6 inches over 10 feet; gutters and downspouts must move water clear of siding.
- HVAC comfort: Supply/return balance, filter access, and thermostat placement affect comfort. Uneven temperatures between floors often trace back to duct layout.
- Energy performance: Continuous insulation and sealed penetrations avoid cold spots and condensation risk—key in GTA winters and humid summers.
When working with clients near Suite 2000, we’ve found that addressing moisture pathways (attic baffles, bathroom fan terminations, rim-joist sealing) early prevents callbacks later. Buyers, sellers, and agents alike appreciate the speed of our same-day reporting—clarity shortens negotiations.
How the process works
Plan two to three milestones: pre-drywall, pre-closing, and an 11‑month warranty inspection. At each visit, we test structure, systems, and safety, then deliver a same-day report with photos and priorities. You share it with the builder so items are corrected before possession or warranty expiry.
- Pre-book milestones: As soon as framing targets are posted, reserve pre-drywall and pre-closing windows. Coordination beats chaos.
- Pre-drywall inspection: Examine framing, rough electrical and plumbing, HVAC runs, fire blocking, and penetrations before they disappear behind drywall.
- Pre-closing inspection: Operate outlets, lights, plumbing fixtures, appliances, and HVAC; evaluate windows/doors, life-safety devices, grading, and finishes.
- 11‑month warranty inspection: Recheck performance through one full heating/cooling cycle; confirm attic ventilation and settlement-related items.
- Same-day PDF: Receive annotated photos, severity tags (safety/repair/monitor), and trade routing notes for efficient builder action.
Expect hands-on testing: water runs at every sink and tub, toilets flushed, dishwasher cycled, HVAC modes switched, and a representative sample of windows opened/latched. We typically run bath fans for several minutes and check for strong exterior discharge. Where accessible, we inspect the roof covering from the ground with optics and check attic surfaces for fastener penetrations and consistent insulation.
Inspection types and phases
Most new-build inspections happen at three points: pre-drywall, pre-closing, and 11‑month. Each phase targets different risks—from hidden framing and rough-ins to finished safety devices and seasonal performance—so you get cradle-to-keys coverage.
| Phase | Focus Areas | Typical Findings | Outcome |
|---|---|---|---|
| Pre-drywall | Framing, rough electrical/plumbing/HVAC, fire blocking, penetrations, insulation plan | Improper notching/boring, missing nail plates, unsealed top plates, bath fans venting into attic | Correct before walls close; photo evidence avoids costly tear-outs later |
| Pre-closing | Systems operation, life-safety devices, windows/doors, drainage and grading, finishes | Leaky traps, GFCI/AFCI gaps, reversed polarity, sticky doors, negative grading | Builder punch list prior to keys; safety prioritized first |
| 11‑month | Seasonal performance after occupancy, roof/attic recheck, settlement cracks, exterior sealants | Minor drywall cracks, loose handrails, insulation displacement, worn weatherstripping | Warranty claims before first-year expiry; verify earlier fixes held up |
During framing, we also look for continuous air barrier strategy at rim joists and around window openings. A common ratio used in residential practice is 1 square foot of net attic ventilation for every 150 square feet of attic floor (1:150) when no vapor retarder is present; baffles help maintain clear air movement at eaves. These details matter for condensation control.
Best practices and ready-to-use checklists
Lock inspection dates early, join the final walk-through, and request photo-documented items grouped by trade. Use a clear priority scale so safety fixes happen first. Keep communications in writing and track completion before closing or warranty deadlines.
Buyer checklist for pre-closing
- Attend the last 30 minutes to review high-priority items in person.
- Bring blue painter’s tape to flag cosmetic touch-ups—let the site lead photograph placements.
- Cycle HVAC in heating and cooling modes; confirm airflow at far bedrooms.
- Run all plumbing fixtures for several minutes; look below sinks for any seepage.
- Open/close a representative sample of windows; verify latches and screens.
- Test GFCI at kitchens, baths, garage, and exterior; verify trip/reset works.
- Walk exterior grade; soil should slope away from the foundation.
Agent coordination tips
- Align contingency and warranty dates with inspection milestones on your calendar.
- Ask the builder to have electrical and plumbing subs on-call during the walk-through.
- Share the PDF report same-day; highlight safety items on your email subject line.
Builder collaboration pointers
- Assign a single point-of-contact and a defined sign-off window (for example, 72 hours) for minor items.
- Group tasks by trade and floor level to minimize back-and-forth.
- Confirm bath fans vent to the exterior and that attic baffles remain in place post-corrections.
We typically tag items as Safety (e.g., missing GFCI), Repair (e.g., leaky P-trap), or Monitor (e.g., hairline drywall crack). This helps everyone focus on what truly matters first.
Tools and resources inspectors use
Professional inspectors use moisture meters, circuit analyzers, thermal cameras, gas detectors, ladders, and GFCI/AFCI testers to validate safety and performance. Photos and thermal images in the report show where issues exist so trades can locate and fix them quickly.
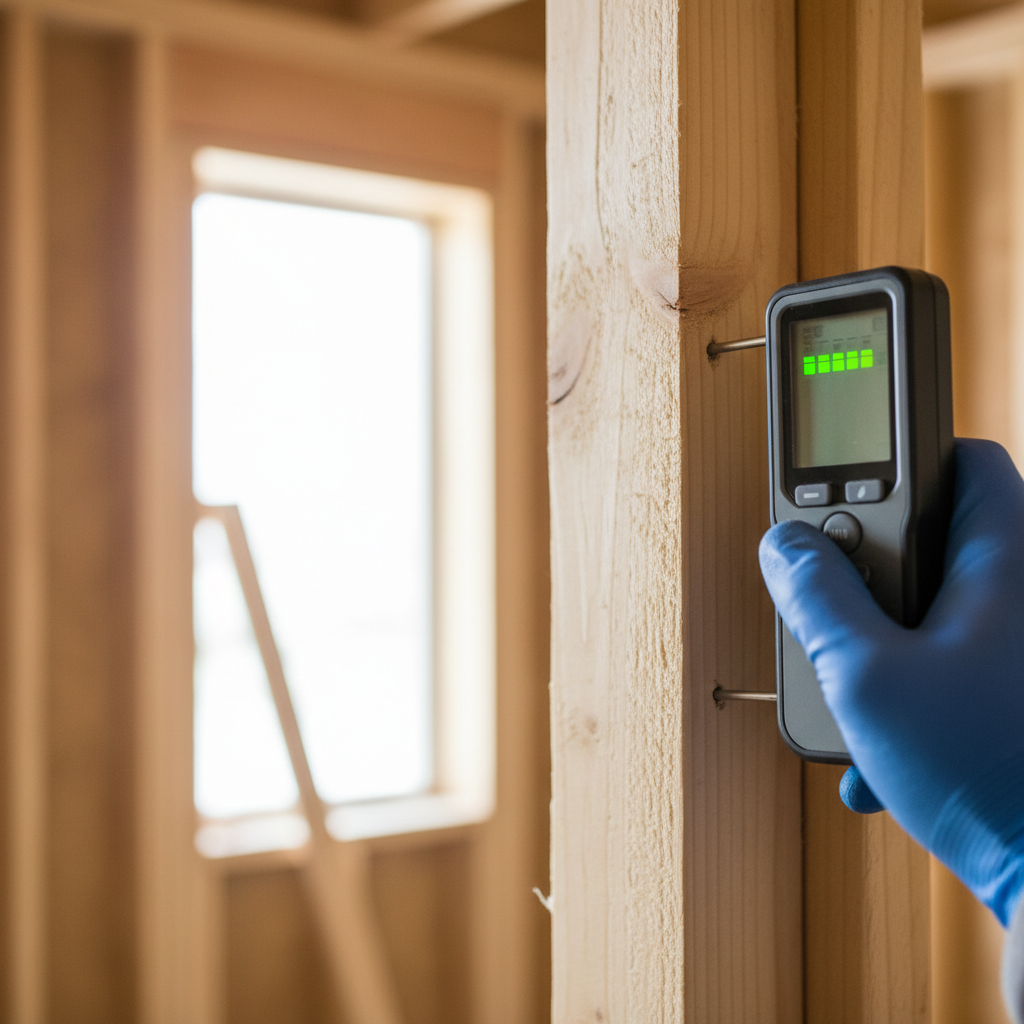
- Moisture meters (pin and pinless): We scan baths, kitchens, basements, and below windows. Normal kiln-dried framing often reads in the low to mid-teens; persistently elevated readings suggest leaks or trapped moisture.
- Thermal imaging: Useful for spotting missing insulation, air leaks, or temperature anomalies along ducts.
- Outlet testers and multimeters: Confirm correct polarity, proper grounding, and GFCI/AFCI function at required circuits.
- Combustible gas and CO detection: Screen fuel-fired appliances and connections.
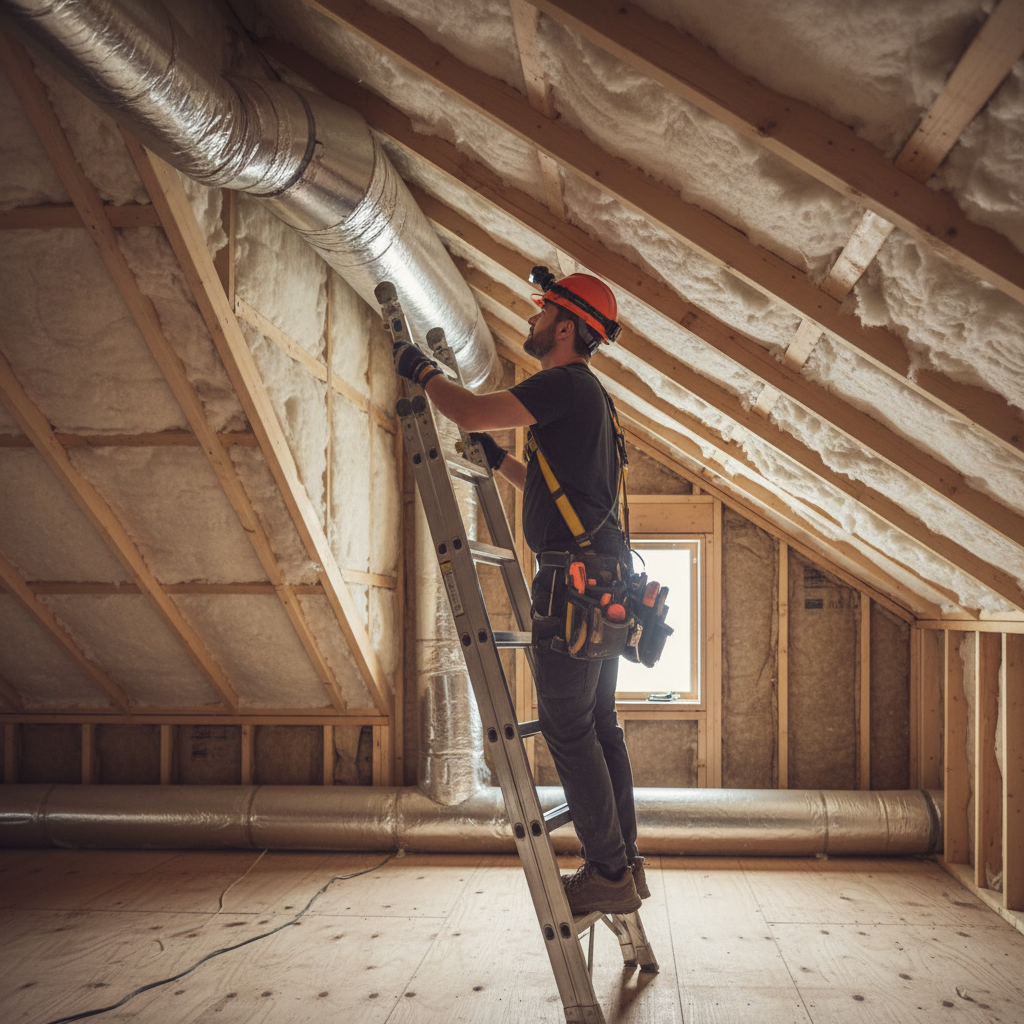
- Ladders and optics: Inspect attic spaces, roof edges from grade, and high exterior details safely.
Because moisture intrusion can drive structural damage and health risks, we dedicate extra time to wet areas and exterior penetrations. In our experience with GTA properties, simple fixes like adding a missing bead of sealant at a window corner or tightening a loose trap save owners from preventable headaches later.
Common defects by trade (with examples)
Most issues are minor but meaningful: reversed outlet polarity, undercut doors scraping floors, missing attic baffles, or sinks with weeping traps. Clear photos and trade-grouped notes speed resolution and prevent repeat visits.
Framing and exterior
- Improper notching/boring in studs or joists; add nail plates where wiring crosses.
- Missing fire blocking at top/bottom plates; seal penetrations to slow smoke spread.
- Deck ledger flashing absent or incomplete; verify continuous path to shed water.
- Negative grading toward the house; add soil to promote runoff away from the foundation.
Electrical
- Reversed polarity or open grounds on receptacles; correct at the device or panel.
- GFCI protection missing at kitchens, baths, garage, exterior; install as required.
- AFCI not installed on applicable circuits; modern builds typically require coverage for many living spaces.
- Loose fixture mounts or missing junction box covers; add hardware for secure, safe operation.
Plumbing
- Slow weeps at P-traps or supply connections; tighten and re-test under flow.
- High or low water pressure; aim for a comfortable range near 50–60 psi at fixtures.
- Cross-threaded shower arms or loose escutcheons; reseat and seal as needed.
- Missing anti-tip brackets on ranges (where applicable in suites with gas ranges).
HVAC
- Undersized or blocked returns causing room-to-room temperature swings.
- Disconnected flex duct at boots; reattach and tape to prevent losses.
- Filter access blocked by trim or framing; ensure routine maintenance is practical.
- Thermostat placement in sun or drafts; relocate for accurate sensing.
Interior finishes
- Doors rubbing at thresholds; adjust hinges or plane slightly for clearance.
- Window latches misaligned; adjust keepers for a positive lock.
- Tile lippage and unsealed wet-area edges; re-set or seal for durability.
- Missing caulk where counters meet splash; seal to prevent water entry.
Case studies from recent GTA builds
Pre-drywall checks often prevent hidden problems from becoming callbacks. We’ve flagged missing fire blocking, bath fans venting to the attic, undersized returns, and reversed traps—items corrected before keys changed hands. Eleven months later, rechecks confirmed strong performance.
- Townhome (pre-drywall): No attic baffles above two baths led to visible frost in winter models; baffles added and ducts re-terminated to exterior. Subsequent attic scans stayed dry.
- Detached home (pre-closing): Negative grading along one side sent roof runoff toward the foundation. Builder re-graded and extended downspouts; the basement remained dry during heavy spring rain.
- Condo unit (pre-closing): Kitchen receptacles lacked GFCI protection. Builder added a GFCI device; verification passed on the spot.
- Warranty recheck (11‑month): Minor stair handrail movement tightened; attic insulation restored where a trade had displaced batts.
In our experience, when buyers, agents, and site supervisors review a prioritized list together, 80–90% of items can be closed before keys, with the remainder scheduled promptly. Clear photos and trade labels keep responsibility obvious.
How inspections support broader due diligence
Your inspection report strengthens your overall due diligence package by documenting condition, safety, and system performance. That documentation helps buyers and agents request timely corrections and align expectations before possession.
For an overview of how condition reporting fits into the wider transaction workflow, you can skim a practical due diligence checklist from a Canadian real estate practice. For first-time buyers navigating builder timelines, this new buyer checklist provides a helpful process perspective. Industry directories also summarize common inspection stages; see this overview of inspection steps for additional context.
Pricing factors and value (no numbers)
Value comes from catching issues early, avoiding rework, and using the photo report to drive builder fixes. Scope, property size, and the number of phases influence planning effort. Many GTA buyers choose packages that align with framing, pre-closing, and the 11‑month warranty window.
- Scope drivers: Square footage, number of kitchens/baths, and specialized features (fireplaces, exterior decks, complex roofs).
- Phase count: Pre-drywall + pre-closing + 11‑month typically deliver comprehensive coverage.
- Deliverables: Same-day PDF with photos, severity tags, and trade routing notes that simplify site scheduling.
- Coordination: Access to mechanical rooms and roof/attic hatches improves thoroughness and efficiency.
We focus conversations on outcomes—fewer surprises at possession, a smoother first year, and documented proof that items were addressed promptly.
How to prepare your home for each phase
Preparation shortens visits and improves thoroughness: confirm power and water are on, supply access to mechanical rooms and attics, and have site contacts available. At pre-drywall, verify all rough-ins are complete; at pre-closing, ensure appliances and HVAC are operational.
Pre-drywall prep
- Confirm framing, electrical/plumbing rough-ins, and HVAC runs are complete.
- Keep walls open—don’t insulate or drywall until after the inspection.
- Provide ladder access to attic areas over bathrooms and laundry rooms.
Pre-closing prep
- Ensure utilities are active so we can operate fixtures and HVAC.
- Clear access to the electrical panel, water heater, furnace, and exterior hose bibs.
- Have the builder’s site lead present or reachable for on-the-spot fixes.
11‑month warranty prep
- List comfort concerns or intermittent issues you’ve noticed (e.g., a cold bedroom or a sticky door).
- Confirm attic and crawl/garage access are not blocked by storage.
- Schedule during a period when HVAC can be cycled through modes.
Need a certified inspection on your new build?
Book your pre-drywall and pre-closing slots now to align with framing and possession dates. ASM’s InterNACHI and CCPIA credentials plus same-day PDF reporting help you move in with confidence across the GTA.
We serve homebuyers, sellers, real estate professionals, and investors across the GTA. Lock in your milestones with our team at Asmhomeinspection so your builder can correct issues before keys change hands.
Frequently Asked Questions
These are the most common questions GTA buyers ask about new-construction inspections. Each answer is concise and designed for quick decisions and next steps.
Do builders already handle inspections?
Municipal officials check code compliance, but they don’t represent the buyer. A third-party inspection looks holistically at performance and workmanship, documents issues with photos, and helps you get items fixed under the builder’s warranty.
What if the home looks perfect?
Many defects hide in attics, behind access panels, or under sinks. Pre-drywall and pre-closing inspections reveal problems you can’t see during a quick walk-through, and builders are usually happy to address documented, specific items.
When should I book the inspection?
Book two dates as soon as framing milestones are posted: pre-drywall once rough-ins are complete, and pre-closing about a week before possession. Add an 11‑month check to capture seasonal performance before the first-year warranty expires.
How is a new construction inspection different from a resale inspection?
Resale inspections focus on wear, age, and maintenance. New-construction inspections emphasize workmanship quality, proper installation of new systems, and resolving punch-list items under warranty before move-in.
Key Takeaways
Schedule two to three inspections, attend the final walk-through, and use the prioritized photo report to request timely fixes. This approach protects your warranty and gives you a smoother move-in across GTA communities.
- Plan pre-drywall, pre-closing, and 11‑month phases early.
- Focus on moisture control, electrical protection, HVAC balance, and grading.
- Group findings by trade and prioritize safety first.
- Use the same-day PDF to keep possession dates on track.
Conclusion and next steps
A new construction inspection documents system performance and workmanship before and after move-in. With InterNACHI and CCPIA credentials and same-day PDF reports, ASM helps GTA buyers and agents keep closings smooth and warranties effective.
Ready to get started? Book your milestones with Asmhomeinspection. We’ll align pre-drywall and pre-closing dates with your builder’s schedule, then complete an 11‑month check so your first year is covered.
Explore more inspection guides
Curious about our broader Inspection pillar? We also cover roof, attic, electrical, plumbing, basement, and annual maintenance topics tailored to GTA housing and seasonal swings. Browse our resources at Asmhomeinspection to plan your next steps.