
New construction home inspection is a comprehensive, independent evaluation of a newly built home’s major systems before closing and again near the 11-month mark. It confirms workmanship, documents defects for builder correction, and protects your warranty period. In Suite 2000, ASM Home & Commercial Inspection performs these checks with same-day PDF reporting so you can act quickly.
By Asmhomeinspection • Last updated: June 24, 2026
Above-the-Fold: Why this guide matters + what’s inside
Buyer walkthroughs and builder warranties don’t replace an independent new construction inspection. This guide shows you exactly what gets inspected, when to schedule each checkpoint, how issues are documented, and what to expect from same-day PDF reports—so you close with confidence and keep leverage during your warranty window.
Here’s the thing: punch lists move fast, and small misses become big headaches. This guide is built for homebuyers, agents, and investors who want a practical playbook that aligns with real field work.
- What a new build inspection is—and is not
- When to book: pre-drywall, final, and 11-month warranty
- Top issues we flag early (moisture, attic ventilation, electrical safety)
- How ASM documents defects with photos and plain-English notes
- What you should bring to your walkthrough
At a Glance (quick contents)
- What Is New Construction Home Inspection?
- Why It Matters
- How It Works
- Types and Approaches
- Best Practices
- Tools and Resources
- Case Studies and Examples
- FAQ
- Conclusion + Next Steps
What Is New Construction Home Inspection?
A new construction home inspection is an independent, top-to-bottom evaluation of a newly built home’s structure, systems, and finishes. Inspectors verify visible workmanship, safety, and function during pre-drywall, at the final walkthrough, and again near month 11 to preserve warranty rights.
Think of it as quality assurance for buyers. Builders have internal checks, but an independent set of eyes protects you—not the schedule. Our inspectors are certified (InterNACHI for residential; CCPIA for commercial) and deliver same-day PDF reports to keep your transaction on track.
- Scope covers: roof coverings, attic insulation and ventilation, visible structure and foundation, plumbing fixtures and drains, electrical panels and receptacles, HVAC equipment and airflow, windows and doors, interior surfaces, garages, decks, and safety items.
- Three checkpoints: pre-drywall (framing, rough-ins), final walkthrough (ready for occupancy), and 11-month warranty (post-settlement movement and wear).
- Deliverable: photo-rich, plain-English PDF with itemized observations and action notes, shared the same day in almost every case.
For coordination support or to align your builder’s schedule with ours, contact ASM Home & Commercial Inspection and we’ll help sequence the visits.
Why New Construction Inspections Matter
Independent inspections catch defects early, create leverage for builder corrections, and document conditions for warranty claims. They reduce risk at close and surface hidden issues—especially moisture, attic ventilation gaps, and electrical safety items—before they escalate.
Why should you care if everything “looks new”? Because “new” doesn’t always mean “right.” Tight timelines and multiple trades leave room for misses that only show up with methodical testing and measured observations.
- Warranty leverage: A documented baseline within 12 months makes repairs simpler to request and harder to dispute.
- Moisture is unforgiving: Even minor intrusion can damage sheathing, subfloors, or finishes; catching it early prevents compounding repairs.
- Safety first: GFCI/AFCI protection, bonding, and combustible clearances must be verified—not assumed.
- Long-term performance: Proper attic ventilation and insulation balance humidity, reducing ice dams and condensation risk over time.
In our experience with buyers in Suite 2000 and surrounding areas, the most persuasive defect lists combine concise notes, photos, and clear “next action” language. That’s why our same-day PDFs pair each item with a recommendation and urgency level.
How a New Construction Home Inspection Works
We plan three touchpoints: pre-drywall, final walkthrough, and the 11-month warranty check. Each visit includes a structured route through the exterior, attic, interior, and mechanicals, plus functional tests. You receive a same-day PDF with photos, notes, and next steps.
Here’s our field-tested sequence that keeps the day efficient and thorough.
Scheduling milestones
- Pre-drywall: After framing, roof sheathing, windows, and rough-ins (plumbing, electrical, HVAC) are complete, but before insulation and drywall.
- Final walkthrough: When the home is clean, energized, and water is on; appliances installed; HVAC operational; safety devices in place.
- 11-month warranty: 10–11 months after move-in to capture settling-related items and wear before the standard one-year warranty window ends.
What we test on site
- Exterior shell: Siding, flashing at penetrations, grading, downspouts, and sealants to control water.
- Roof and attic: Roof covering condition; attic insulation depth; baffle presence; ventilation pathways; attic access safety.
- Structure: Visible foundation surfaces, beam/joist bearing, stair construction, and guard/handrail integrity.
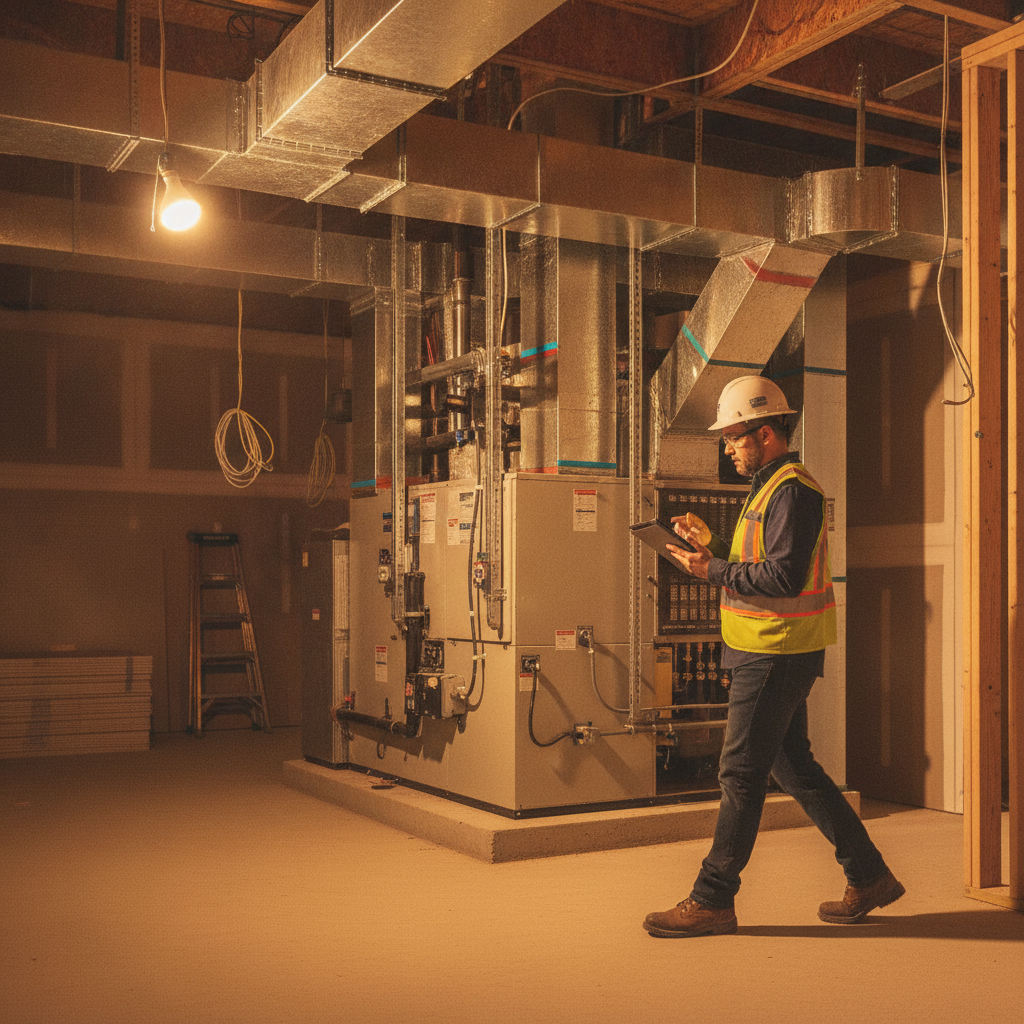
- Mechanical systems: Furnace/air handler operation, filter fit, condensate routing, supply/return balance, and water heater safety.
- Electrical: Panel labeling, breaker sizing, GFCI/AFCI devices, receptacle polarity, and bonding at metal systems.
- Plumbing: Fixture flow and drainage, visible supply connections, shutoffs, and traps.
During a typical final walkthrough, we run water at multiple fixtures, test a representative sample of receptacles on each circuit, and cycle the HVAC in both modes when possible. The goal is to simulate early occupancy and observe performance.
Types, Methods, and Approaches
Use a three-visit approach: pre-drywall to verify framing and rough-ins, a final inspection before closing, and an 11-month warranty check to capture settlement issues. Each phase targets different risks and creates a clean paper trail with photos.
Pre-drywall inspection (open walls)
- Framing: Stud spacing, notching/boring, joist hangers, fire blocking, and stair framing.
- Rough plumbing: Supply routing, drain slope, and vent connections.
- Rough electrical: Box placement, stapling, support, and bonding where visible.
- Rough HVAC: Trunk sizing at visible runs, duct support, and return placement.
- Windows/doors: Flashing details and watertight installation.
Example: We’ve found bath fan ducts terminating in attics during pre-drywall. Correcting the run now avoids moisture-laden air entering insulation layers later.
Final inspection (ready for occupancy)
- Attic and roof: Insulation depth and coverage, ventilation intake/exhaust, roof penetrations.
- Interior finishes: Floors, walls, ceilings, cabinets, and door operation.
- Life safety: GFCI/AFCI protection, smoke/CO alarms present and mounted, guard/handrails sound.
- Systems in operation: HVAC start/stop response, heat/cool delivery, water heater function, and fixture-by-fixture checks.
Example: A reversed hot/cold at a shower mixing valve is quick to miss in a cursory walkthrough but easy to document and fix before move-in.
11-month warranty inspection (post-settlement)
- Movement checks: Drywall cracks, door rub, stair squeaks, and tile grout separations.
- Moisture and ventilation: Attic or crawl signs of condensation; bathroom exhaust discharge; range hood capture.
- Exterior maintenance: Caulk/sealant touch-ups, downspout extensions, and grading adjustments.
Example: We often see small nail pops and seasonal door misalignment appear by month 10. A documented list gives your builder a clear, time-bound set of tasks to close out the first year.
Best Practices for Buyers, Agents, and Builders
Book three inspections, coordinate utility readiness, and walk with a checklist. Document everything with photos. Prioritize moisture control, attic ventilation/insulation balance, electrical protection, and mechanical clearances. Finally, tie every defect to an action owner and due date.
Buyer and agent checklist
- Confirm utility readiness (power, water, gas) before the final visit.
- Ask the builder to leave attic access cleared and provide appliance manuals.
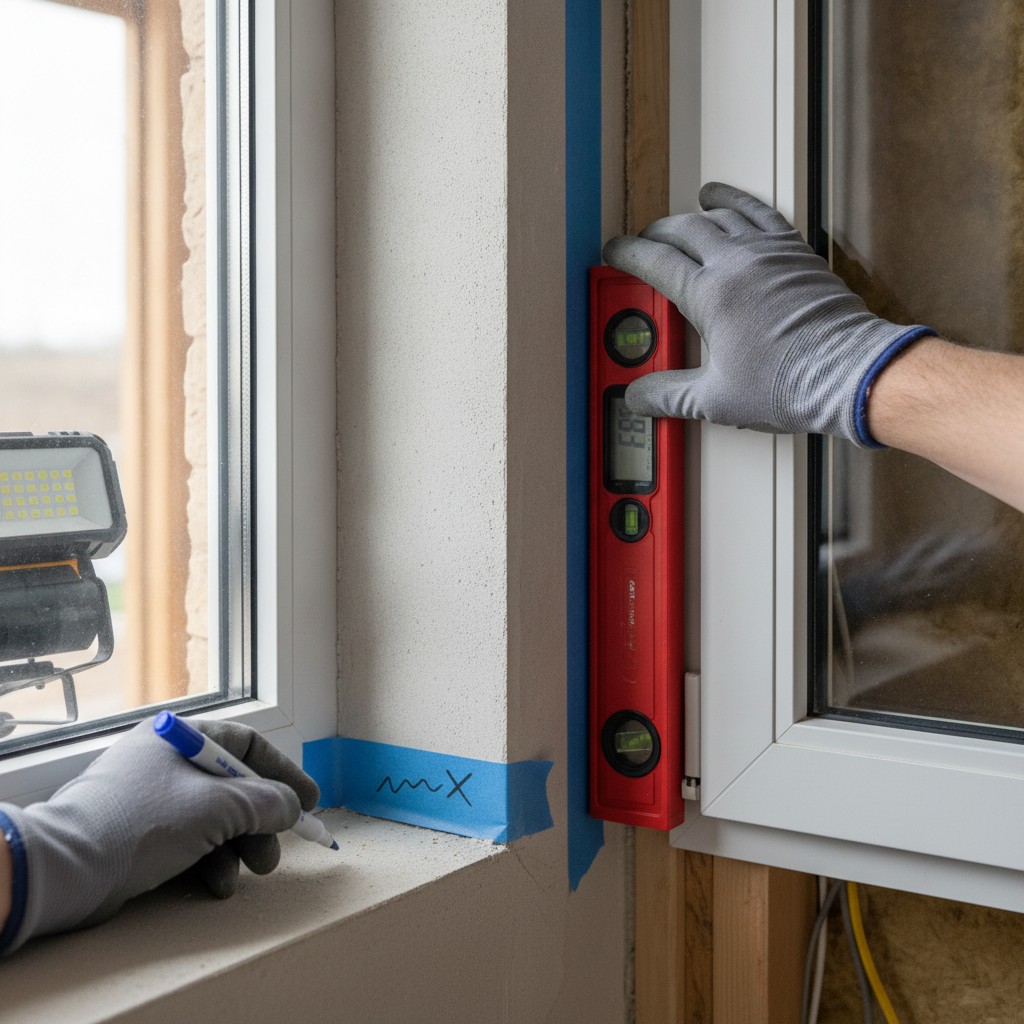
- Bring blue painter’s tape to tag minor finish blemishes for repair.
- Request panel schedules be labeled before inspection day.
- Have a simple room-by-room plan to avoid backtracking.
Moisture and attic priorities
- Check bath fan and dryer vents terminate outdoors, not in attics.
- Verify soffit baffles are installed where insulation meets eaves.
- Look for consistent insulation depth and no wind-washing at eaves.
- Ensure downspouts discharge away from the foundation with positive grading.
Electrical and HVAC pointers
- Use GFCI/AFCI test functions where accessible.
- Check service clearances around furnaces and water heaters.
- Confirm filter sizes are noted and filters are installed correctly.
- Run the system long enough to observe stable operation, not just a quick on/off.
Need help orchestrating all this? Our team at ASM Home & Commercial Inspection builds the checklist into your same-day PDF, turning notes into an actionable punch list.
Local considerations for Suite 2000
- Seasonal humidity swings can stress finishes; prioritize attic ventilation checks and bathroom fan discharge during your final and 11-month visits.
- Freeze–thaw cycles amplify minor grading issues; extend downspouts and slope soil away from the foundation before winter.
- Builder schedules tighten near quarter-ends; secure pre-drywall windows early to protect your timeline.
Tools and Resources We Use (and You’ll See in the Report)
Expect digital levels, moisture meters, thermal spot checks, GFCI/AFCI testers, and typical home-inspection tools. Reports reference readings in photos with simple notes, so you and your builder can understand the why—not just the what.
- Moisture detection: Pin/pinless meters help distinguish surface condensation from active leaks.
- Electrical testers: Receptacle analyzers confirm polarity and protection where present.
- Level and laser: Identify out-of-plumb door frames and stair variances.
- Thermal spot checks: Indicate missing insulation areas or HVAC distribution anomalies.
- Camera and light: Every defect is photographed with context and wording that builders understand.
If you’re comparing standards for electrical walkthroughs, this practical overview of electrical inspection expectations provides a homeowner-friendly perspective on what’s typically examined. For handover process points, see this quality check before handover resource and this pre‑construction condo checklist when reviewing multi-unit items.
Process and Timing: What Happens on Inspection Day
We confirm utility status, walk the exterior, scan the roof edge and attic, test interior rooms and systems, then debrief on site. You receive a same-day PDF with photos, notes, and an organized action list you can forward to your builder immediately.
- Arrival: Confirm access, utility status, and site safety.
- Exterior/roofline: Walk grade, siding, flashing lines, and soffits for intake blocks.
- Attic: Check insulation depth and clear pathways from soffit to ridge.
- Interior: Room-by-room flow—doors, windows, outlets, and fixtures.
- Mechanical room: HVAC cycle, condensate routing, filter fit, and water heater safety.
- Debrief: Immediate summary of top items so you can start calls the same day.
Because builders appreciate clarity, our reports emphasize action verbs: repair, replace, evaluate, or monitor. That phrasing speeds resolution.
Pre‑Drywall vs. Final vs. 11‑Month: Quick Comparison
Each stage targets different risks: open-wall verification at pre-drywall, readiness and safety at final, and settlement performance at 11 months. Together, they create a complete record you can use for corrections and warranty claims.
| Stage | Primary Focus | Typical Findings | Outcome |
|---|---|---|---|
| Pre‑Drywall | Framing and rough‑ins | Improper vent runs, missing fire blocking, duct support | Correct before insulation/drywall |
| Final | Readiness, safety, function | Outlet protection, grading, attic baffles, reversed valves | Punch list for closing |
| 11‑Month | Settlement and wear | Door rub, minor cracks, sealant gaps, airflow issues | Warranty claim package |
Case Studies and Real-World Examples
Across new builds, patterns repeat: misplaced bath fan terminations, attic intake blocked by insulation, mislabeled panels, and grading that back-pitches to foundations. When found early, fixes are fast; when missed, they become recurring service calls.
Open-wall catch prevents attic moisture
During a pre-drywall visit, we traced a primary bath exhaust into the attic. We documented the run, recommended venting outdoors, and verified corrections at the final. That one redirect protected insulation and sheathing from humid air.
Attic baffles missing at multiple bays
On a final walkthrough, we noted loose-fill insulation drifted into soffits near several eaves with no baffles. We recommended installing and re-leveling insulation. At the 11-month check, attic humidity was normal and no staining was present.
Panel labeling clarifies protection
A homeowner was unsure which circuits had AFCI/GFCI coverage. We cross-checked breakers and added a note in the report to request builder labeling. During warranty, service trips were faster because everyone knew which breaker protected each room.
Want your new build inspected with this level of rigor? Start here: book with ASM Home & Commercial Inspection.
Frequently Asked Questions
Most buyers schedule three inspections: pre-drywall, final, and at month 11. Expect a structured walkthrough, functional testing, and a same-day PDF with photos and action notes you can send to your builder.
Do I need an inspection if the builder already did one?
Yes. A builder’s quality check serves the project, while an independent inspection represents you. We document issues in plain English with photos, so you have leverage for corrections now and a record for future warranty needs.
When should I schedule the pre-drywall inspection?
After framing, roof sheathing, windows, and mechanical rough-ins are complete—but before insulation and drywall. That window lets us evaluate framing, electrical/plumbing/HVAC rough-ins, and flashing details while they’re still visible.
What will be in my inspection report?
A same-day PDF with photos, clear descriptions, and recommended next steps. We group related items, highlight safety concerns, and include a simple summary you can forward to your builder without extra editing.
How does an 11-month warranty inspection help?
It captures settlement- and use-related issues before the typical one-year warranty ends. We focus on attic ventilation, sealants, grading, doors, and finishes—then provide a clean list so your builder can schedule fixes.
Conclusion and Next Steps
The simplest plan wins: book pre-drywall, final, and 11-month inspections; coordinate utilities; and use the report as your punch list. Independent documentation keeps closing smooth and warranty claims efficient.
- Key takeaways:
- Three checkpoints create complete coverage.
- Moisture and attic ventilation deserve extra attention.
- Clear, photo-backed notes speed builder action.
- Action steps:
- Ask your builder for a pre-drywall date window.
- Book your final and 11-month visits now to hold your slot.
- Bring this checklist to your walkthrough.
Ready to coordinate your new construction home inspection in Suite 2000? Reach out to our team at ASM Home & Commercial Inspection for scheduling and same-day reporting.