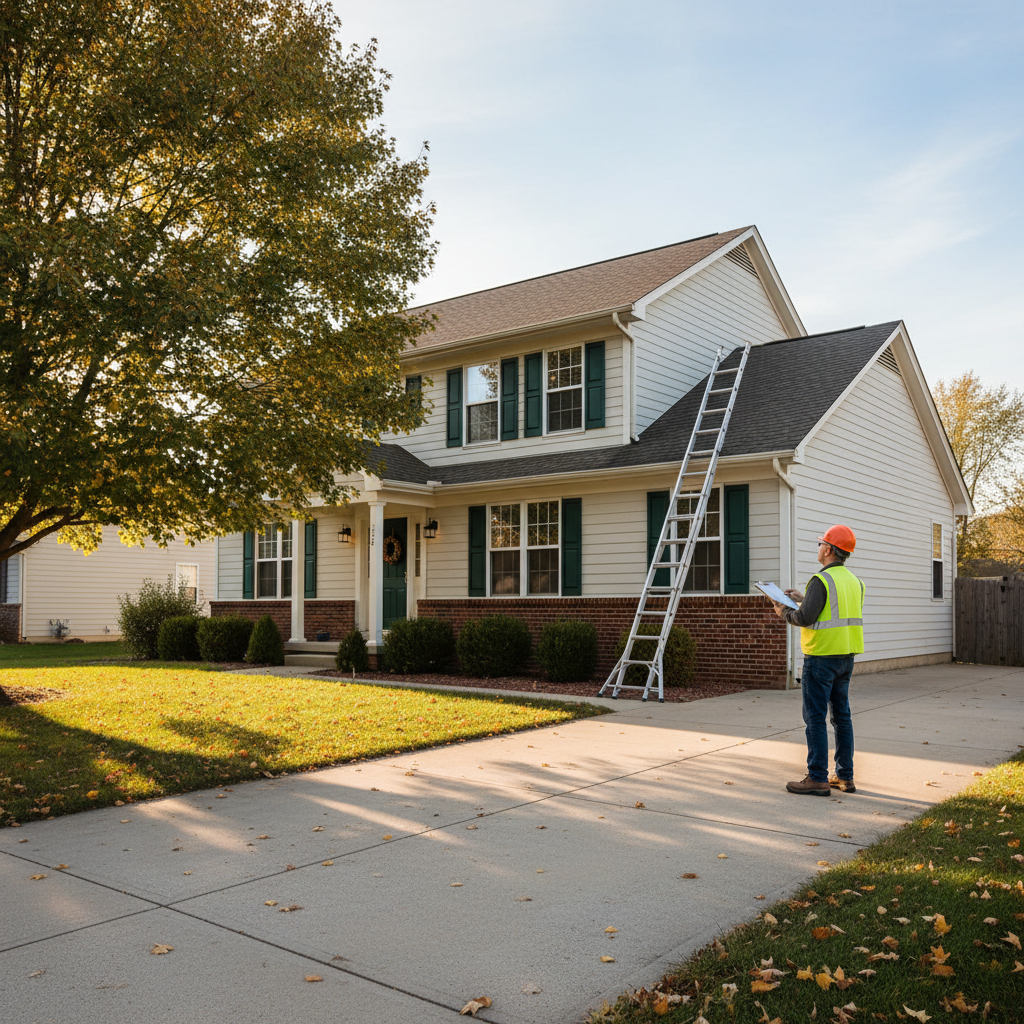
House inspection cost is the investment you make to have a certified professional evaluate a home’s major systems and safety risks before closing. In Suite 2000 (Toronto), our team at ASM Home & Commercial Inspection delivers same-day PDF results so you can move fast, reduce surprises, and protect your negotiating position.
By Asmhomeinspection • Last updated: 2026-05-24
At a Glance
House inspection cost reflects scope, time, and professional risk. You maximize value by aligning goals, preparing access to all areas, and choosing certified inspectors who provide same-day, photo-rich reports. Clear expectations prevent delays, re-inspects, and negotiation setbacks.
- What you pay for: expert time on site, defect detection, and a standardized PDF with photos and recommendations.
- Key drivers: property size, age, accessibility, add-ons (attic, crawl space), and reporting standards.
- Smart moves: define priorities, be present for the walkthrough, and use the report to plan repairs and negotiations.
What Is “House Inspection Cost”?
House inspection cost is the professional fee for a comprehensive visual evaluation of a home’s structure, systems, and safety. It covers time on site, liability, and a written report with photos, recommendations, and clear next steps for buyers and sellers.
A residential home inspection is a structured, visual assessment of major systems: roof, exterior, structure and foundation, electrical, plumbing, HVAC, attic/insulation, and interior elements. The goal is simple and critical—reduce risk and clarify what’s safe, what’s defective, and what needs maintenance soon.
- Scope is standardized: Certified frameworks guide what’s included and how findings are documented.
- On-site time: Many single-family inspections run 2–3 hours on site, plus documentation time.
- Deliverable: A same-day PDF report (often 30–60 photos) helps you act within 24 hours.
Credentials matter. As an InterNACHI and CCPIA member, ASM aligns methods and ethics to recognized standards. When lenders, agents, or attorneys ask for proof, a consistent, photo-rich report becomes a shared source of truth that speeds decisions. Explore our GTA home inspection services to see how we structure findings for fast action.
Why Understanding House Inspection Cost Matters
Knowing what drives house inspection cost helps you plan time and scope, avoid re-inspects, and negotiate with confidence. Clear expectations often protect far more value than the fee itself during closing.
Inspection cost isn’t random; it’s tied to effort and liability. When you understand drivers like size, age, specialty spaces, and access, you can right-size the scope from the start. That keeps schedules tight and deliverables strong.
- Negotiation support: Reports routinely identify 8–12 actionable items. Even one safety fix can change terms.
- Timeline control: Same-day PDFs reduce buyer/seller anxiety during 24–48 hour decision windows.
- Maintenance roadmap: The report doubles as a 6–12 month plan for new owners.
In our experience across the GTA, buyers who attend the walkthrough retain details better, ask sharper questions, and leave with prioritized next steps. Sellers who pre-list tend to face fewer last-minute delays because known issues are either corrected or transparently disclosed ahead of offers.
How House Inspection Fees Work
Inspection fees are built on three pillars: scope (what’s covered), time (on-site and report writing), and risk (professional standards and liability). Aligning scope and access up front maximizes depth per minute on site.
We structure every inspection to deliver the most clarity in the least time without cutting corners. The fee reflects:
- Scope: Whole-home evaluation of roof, structure, electrical, plumbing, HVAC, attic/insulation, and interiors. Add-ons for garages, decks, crawl spaces, or outbuildings when applicable.
- Time: Travel, setup, testing, photography, and report writing. Photo count often lands between 30–80, depending on complexity.
- Risk: Professional liability, safety protocols, and adherence to standards (InterNACHI/CCPIA).
| Component | Why it affects fee | Typical complexity | How to optimize |
|---|---|---|---|
| Property size & floors | More rooms and systems add testing and travel paths. | Low to high | Share accurate square footage and levels during booking. |
| Home age & upgrades | Legacy wiring/plumbing or structural movement needs extra review. | Medium to high | Provide permits and upgrade notes to focus the evaluation. |
| Access limitations | Blocked panels, sealed attics, or locked rooms require returns. | Variable | Unlock panels, clear attic hatches, stage utility areas. |
| Special features | Flat roofs, crawl spaces, or outbuildings add time and tools. | Medium | Flag features at scheduling to set expectations. |
| Reporting standards | Photo-rich, plain-English summaries take careful documentation. | Medium | Choose same-day reports to keep deals moving. |
Want the deepest insight per minute spent? Set the scope with us early, ensure access everywhere, and confirm who needs the PDF (buyer, seller, agent) so it’s shared within minutes. You can start that conversation on our inspection booking page.
Types of Inspections That Influence Cost
Different inspection types change scope and time. Pre-purchase, pre-listing, new construction, move-in, annual maintenance, and commercial inspections each have distinct goals that shape the deliverable and effort.
Residential service angles
- Pre-purchase inspection: Validates condition before firming up offers. Typical output: 1–2 page summary plus full PDF for 24–48 hour decisions.
- Pre-listing inspection: Surfaces issues early so sellers can repair or disclose. Reduces renegotiation friction.
- New construction inspection: Focuses on workmanship, safety devices, and system performance before handover.
- Move-in inspection: Documents baseline condition for landlords/tenants to set clear responsibilities.
- Annual maintenance inspection: Checks wear patterns, ventilation, grading, and small leaks before they escalate.
Commercial scope variations
- Retail/office: HVAC capacity, egress routes, and electrical distribution are high priorities.
- Industrial/warehouse: Roof assemblies, loading areas, drainage, and life safety systems dominate time.
- Hospitality/education/healthcare: Occupant safety, ventilation, and water management drive the narrative.
ASM supports all these categories across the GTA and provides same-day PDF inspection reports to match tight timelines. Moisture and safety are our highest-yield focus areas—catching issues early can prevent structural damage and health concerns down the line.
House Inspection Cost: What Actually Drives It in the GTA
In the GTA, the biggest drivers are size, age, accessibility, specialty areas (attic, crawl space, flat roofs), and reporting speed. Clear preparation and certified standards help you capture more value from the same on-site hours.
Local housing stock ranges from pre-war homes to new infill builds. That diversity means wiring types, plumbing materials, and ventilation strategies vary—each adds testing points. Basement moisture is a persistent theme; focused diagnostics here often pay for themselves in reduced risk.
Local considerations for Suite 2000
- Seasonal swings reveal roof, attic, and foundation patterns; scheduling when attics and exteriors are safely accessible improves findings.
- Condos and high-rises have different common-element responsibilities; clarify unit boundaries and access rules before we arrive.
- Freeze–thaw cycles stress exterior finishes and grading; ensure downspouts extend and drainage directs water away from the structure.
Share known pain points—musty odors after rain, recurring slow drains, or tripped breakers—so we can arrive with the right tools. Booking early preserves negotiation windows. If you’re aligning agents, sellers, and contractors, our same-day report workflow keeps everyone on the same page within hours.
Best Practices: How to Maximize Value from Your Inspection
You maximize value by aligning goals, preparing access, and participating in the walkthrough. Capture action items, request clear photos, and use the same-day report to keep negotiations moving.
Before the inspection
- Define five priorities: roof age, past leaks, electrical safety, HVAC performance, foundation movement.
- Prepare access: clear attic hatches, unlock electrical panels, and move storage away from utilities.
- Gather documents: warranties, permits, recent service notes—10–15 minutes of prep saves back-and-forth.
During the walkthrough
- Be present: real-time Q&A improves recall and reduces surprises later.
- Focus on safety first: GFCI protection, handrails, combustion safety, and moisture sources.
- Take quick notes: flag items for your contractor or property manager.
After the report arrives
- Sort by severity: immediate safety, urgent maintenance (0–90 days), long-range items (6–12 months).
- Request clarifications: we’ll annotate photos or add arrows/callouts if needed.
- Plan re-inspections: verify repairs that affect safety, structure, or moisture control.
Need a quick start? Our team shares a simple prep checklist when you book an inspection—so you, your agent, and the seller show up aligned on access and expectations.
Tools and Resources That Shape Scope
Modern tools—moisture meters, thermal imaging, gas detectors, GFCI/AFCI testers, and inspection software—improve defect detection and reporting speed. The right toolkit cuts blind spots and turns findings into clear actions.
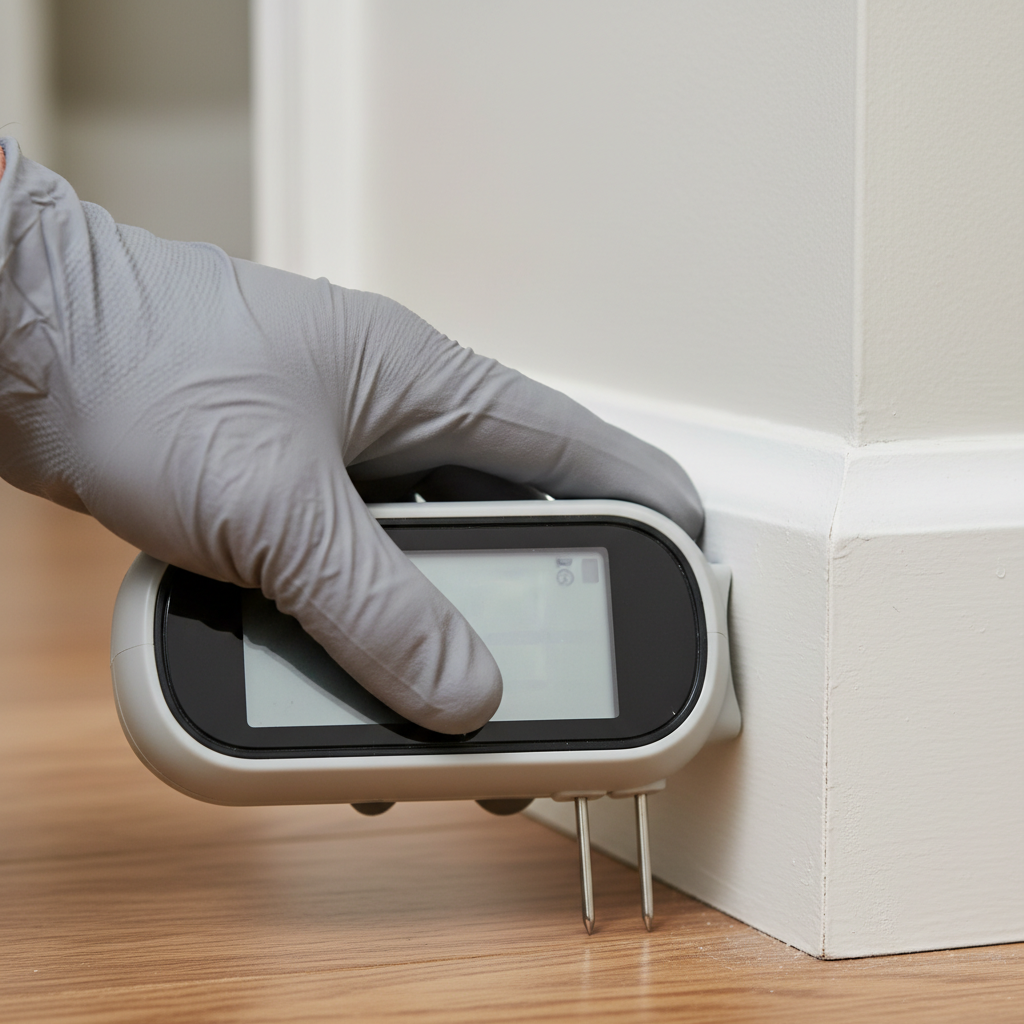
Moisture is a top hidden risk. Non-invasive meters and thermal imaging help us find patterns behind finishes. Early detection turns potential structural issues into manageable repairs. In basements, bathrooms, and attics, this often becomes the highest-return part of the inspection.
- Thermal imaging: reveals temperature differentials that suggest moisture, insulation gaps, or air leakage.
- Moisture meters: confirm elevated readings in suspect walls and trims without destructive testing.
- Electrical testers: verify grounding, polarity, GFCI/AFCI protection, and device function.
- Combustion/gas detectors: screen for leaks and poor venting that affect health and efficiency.
- Software-driven reporting: organizes 30–80 images with plain-English recommendations.
Tools amplify training; they don’t replace it. That’s why we emphasize certified methods and photo documentation in every PDF home inspection report.
Process and Timeline: What to Expect
Expect scheduling, on-site evaluation, and same-day reporting. Most single-family homes require a few hours on site, followed by photo-rich documentation and a debrief that fits your 24–48 hour decision window.
Step-by-step overview
- Schedule and scope: share size, age, and concerns so we bring the right tools.
- Access prep: confirm panels, attic hatches, and utility rooms are clear and safe.
- On-site inspection: we move exterior-to-interior, low-to-high, documenting 8–12 major areas.
- Safety briefing: a quick 10–15 minute recap of top risks and maintenance items.
- Same-day PDF: 30–80 photos with severity tags and next-step guidance.
- Follow-up: we answer questions and, if needed, schedule re-inspection after repairs.
Need tight coordination across parties? Share your agent’s email at booking. Our same-day report workflow sends the PDF to everyone you specify so action can start immediately.
Value vs. Price: How to Think About “Cost”
Think in terms of value: risk reduced per hour and clarity gained per page of the report. One confirmed safety hazard or moisture path addressed early can outweigh the inspection fee by a wide margin.
- Risk mitigation: life-safety items (e.g., GFCI, handrails, venting) carry outsized impact.
- Moisture control: early fixes to grading, downspouts, or flashing prevent compounding damage.
- Planned maintenance: a 6–12 month roadmap smooths your first year of ownership.
Here’s the thing—cost conversations get easier when everyone sees the same photos and notes. That’s why we emphasize plain-English summaries and annotated images in every ASM inspection report.
Case Snapshots: Where Clients Found the Most Value
Real-world inspections show where value appears: moisture paths caught early, safety hazards corrected before move-in, and seller-side fixes that prevent deal friction. Same-day reports keep decisions on track under pressure.
Buyer, detached home: A musty odor led us to minor flashing gaps and low attic ventilation. Targeted sealing and improved airflow reduced moisture risk before it created interior damage.
Seller, townhome: Pre-listing documented slow drains and a loose handrail. Basic maintenance plus disclosure prevented renegotiation pressure after offers.
Investor, duplex: Annual maintenance checks flagged grading that directed water toward the foundation. Downspout extensions and small regrading steps improved drainage performance for both units.

Want the same playbook? Book a pre-purchase or pre-listing inspection and ask us to prioritize moisture and safety during the walkthrough.
GTA Buyer & Seller Tips That Affect Your Out-of-Pocket
Simple actions—prepping access, sharing disclosures, and consolidating questions—reduce rework and keep the inspection efficient. The smoother the day, the more value you capture from the same hours.
- Access first: unblock panels, attics, and utility rooms; test door keys the day before.
- Bundle questions: a single prioritized list saves 10–20 minutes of stop–start Q&A.
- Document upgrades: recent roof, HVAC, or electrical work focuses attention where it counts.
- Clarify condo limits: note what’s unit vs. common element to set expectations.
- Schedule smart: daylight helps roof and exterior photos—aim for morning or early afternoon.
For a wider due-diligence lens beyond the inspection, review this helpful real estate due diligence checklist to plan documents and timelines with your agent and attorney.
Common Mistakes (and How to Avoid Them)
The biggest mistakes are vague scopes, poor access, skipping the walkthrough, and delaying repairs without documentation. Tighten each step and your inspection delivers more certainty with less stress.
- Vague scope: define add-ons (crawl space, outbuildings) up front.
- Poor access: blocked panels/attics force return visits and slow decisions.
- Skipping the walkthrough: you miss context that photos alone can’t convey.
- No re-inspection: verify critical repairs before final walk-throughs.
Need a sanity check on your plan? Start with our inspection readiness checklist and we’ll confirm your scope and timing.
Free Prep Checklist + Same-Day Report (Soft CTA)
Get a simple, one-page prep checklist and a same-day report designed for fast-moving GTA deals. Align your agent, seller, and contractor in hours—not days.
We built our workflow for time-sensitive closings. Share your top concerns at booking, and we’ll tailor the walkthrough to answer them in order. Start here: schedule with ASM.
Targeted Checklists: Where Inspectors Spend Time
Inspectors spend most time where risk concentrates: roofs and attics, foundations and basements, electrical safety, plumbing leaks, and HVAC performance. A focused hour in these zones prevents long-term headaches.
Roof and attic
- Shingles/flashing, roof penetrations, gutters/downspouts.
- Ventilation, insulation depth, moisture staining, and bath fan terminations.
Foundation and basement
- Cracks, moisture signs, grading, and sump/discharge details.
- Musty odors after rain? That’s a high-yield clue worth 10–15 extra minutes.
Electrical and plumbing
- Panel labeling, grounding/bonding, GFCI/AFCI protection, receptacle tests.
- Supply/drain leaks, water heater age/venting, and fixture function.
HVAC and interiors
- Furnace and AC operation, filter condition, and venting.
- Windows, doors, handrails, stairs, and safety devices.
Curious how this looks in a finished product? Our photo-rich PDF reports translate findings into clear, prioritized actions.
Frequently Asked Questions
These are the most common questions we hear from GTA buyers, sellers, and investors. Each answer is direct and focused on action so you can move forward with clarity.
What does a house inspection include?
A standard inspection visually reviews roof, exterior, structure, electrical, plumbing, HVAC, attic/insulation, and interiors. Your report includes photos, safety notes, and practical recommendations. Specialty areas—like crawl spaces or outbuildings—can be added when relevant to your property.
How long does an inspection take?
Most single-family homes require a few hours on site, followed by photo documentation and same-day PDF delivery. Complex layouts, multi-units, or limited access can extend the schedule. We’ll give you a target window when you book.
Do I need to attend the inspection?
We recommend it. Being present lets you ask questions, see issues firsthand, and align on priorities. If you can’t attend, we’ll brief you by phone and ensure the report contains clear photos and next-step guidance.
What happens if access is blocked?
Blocked attics, panels, or locked rooms limit what we can evaluate and may require a return visit. Clearing access in advance keeps your inspection thorough and on schedule. Your agent can help coordinate entry and preparation.
When should I request a re-inspection?
Request a re-inspection after contractors complete repairs on key safety or moisture issues. We’ll verify work quality and update the report so you have documentation before final walk-throughs or closing.
Key Takeaways
House inspection cost is best managed by smart preparation and certified process. Align scope, ensure access, and use same-day reports to negotiate decisively and plan maintenance.
- Scope, time, and risk—not guesswork—drive inspection cost.
- Safety and moisture findings deliver the biggest long-term value.
- Same-day, photo-rich PDFs help you act within 24–48 hours.
- Be present for the walkthrough and prioritize your questions.
Conclusion and Next Steps
Treat house inspection cost as strategic due diligence. Define goals, prepare access, and partner with certified pros who deliver same-day clarity. That’s how you protect timelines and negotiate with confidence.
- Align scope to your risk tolerance and timeline.
- Prepare access so every system can be evaluated the first time.
- Use your report as a negotiation and maintenance roadmap.
Ready to move forward in the GTA? Book with ASM Home & Commercial Inspection for InterNACHI and CCPIA-certified expertise, moisture-focused diagnostics, and same-day reporting built for real-world timelines. For broader planning beyond the inspection itself, this brief guide to property purchase due diligence and the property viewing scheduling guide can help you coordinate documents and dates with your team.
Need a checklist to align your legal prep with the inspection timeline? Review this concise due diligence checklist and share highlights with your agent the same day you receive your inspection PDF.