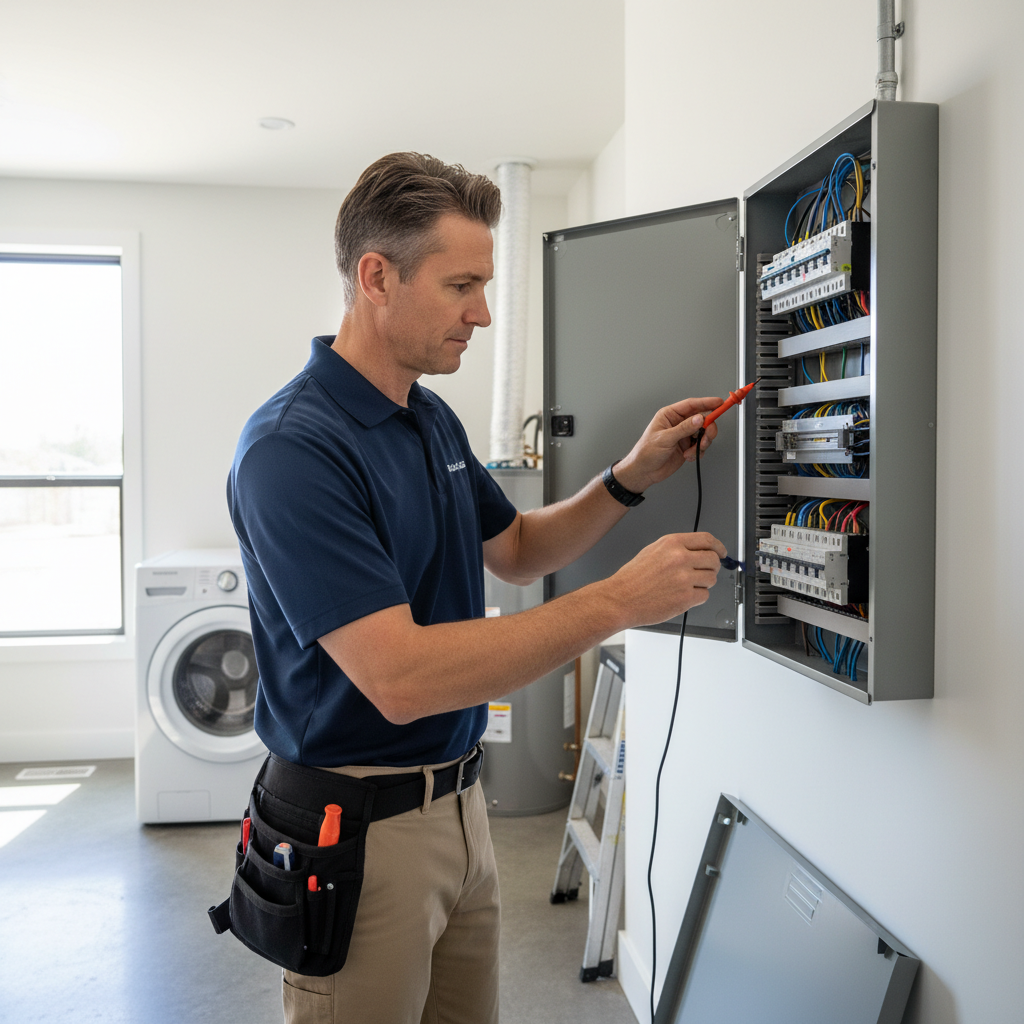
A house electrical inspection is a systematic evaluation of a home’s wiring, service equipment, and safety devices to verify safe operation and code-aligned practices. Inspectors look at the service drop, meter, panel, circuits, grounding/bonding, outlets, lighting, and protective devices. For Suite 2000 homeowners and buyers, ASM’s certified inspections help prevent hazards and expensive surprises.
By Asmhomeinspection • Last updated: 2026-06-02
At a Glance
A house electrical inspection confirms that wiring, panels, and protective devices operate safely and as designed. Inspectors test outlets, evaluate the main panel, review grounding and bonding, and check GFCI/AFCI coverage. Clear findings and photos in a same-day PDF help you prioritize fixes, plan upgrades, and negotiate with confidence.
Here’s what you’ll get from this complete guide and how we approach inspections across the GTA.
- Plain-English definitions of inspection scope and deliverables
- Why electrical safety matters during purchase, listing, and ownership
- Step-by-step inspection workflow and homeowner prep checklist
- Common defects, risk categories, and what to do next
- Tools we use (from testers to thermal imaging) and why they matter
- GTA-focused examples plus local considerations for Suite 2000
- What Is a House Electrical Inspection?
- Why Electrical Inspections Matter
- How a Professional Electrical Inspection Works
- Types of Electrical Issues and Risk Categories
- Best Practices for Homeowners
- Tools and Resources Inspectors Use
- Case Studies and Real-World Examples in the GTA
- House Electrical Inspection FAQ
- Key Takeaways
- Conclusion and Next Steps
What Is a House Electrical Inspection?
A house electrical inspection is a top-to-bottom review of a home’s electrical system—service entrance, main panel, wiring methods, devices, fixtures, and protection—to verify safe function and identify defects or safety gaps. It produces a written, photo-supported report with prioritized recommendations.
During a residential home inspection, our certified team evaluates electrical components as part of a broader system-by-system review. We document visible conditions and test accessible devices using non-invasive methods. You receive a same-day PDF that flags immediate hazards and outlines practical next steps.
Scope you can expect
- Service and panel: Service rating, panel condition, labeling, working clearance (about 36 inches depth and 30 inches width), and signs of overheating.
- Branch circuits: 15- and 20-amp circuits, wire gauges, junction boxes, splices, and visible routing.
- Protection: GFCI where water is present; AFCI in living areas per modern standards; overcurrent device sizing.
- Devices and fixtures: Receptacles (polarity, grounding), switches, lights, exhaust fans, and exterior outlets.
- Grounding/bonding: Grounding electrode conductors, bonding of metal piping, and continuity observations.
We align our work with recognized safety practices and manufacturer guidance so findings are clear, actionable, and defensible for buyers, sellers, and homeowners.
Why Electrical Inspections Matter
Electrical inspections reduce fire and shock risks, uncover hidden defects before closing, and support fair negotiations. They help owners plan upgrades strategically and ensure protective devices like GFCI and AFCI are installed where modern standards expect them.
Electrical systems age invisibly. Homes built decades ago may lack today’s safety features or show wear at connections and terminations. Inspections provide a snapshot of risk so you can act before minor issues escalate.
Benefits that compound over time
- Safety first: Finding reversed polarity, missing grounds, or overheated breakers reduces shock and fire hazards.
- Negotiation power: Clear, photo-documented evidence helps buyers and sellers resolve concerns efficiently.
- Maintenance roadmap: Prioritized lists prevent “deferred maintenance” from turning into major repairs.
- Insurance and peace of mind: Some insurers ask about panel types, GFCI coverage, or aluminum wiring—having answers pays off.
For families moving to or selling in Suite 2000, our same-day PDF report structure keeps decisions on schedule and reduces surprises at the eleventh hour.
How a Professional Electrical Inspection Works
A professional inspection follows a repeatable workflow: client goals intake, exterior service review, panel evaluation, branch-circuit sampling, device testing, protection checks, and reporting. Non-invasive tests reveal hazards without dismantling systems, and findings are delivered in a same-day PDF.
Here’s how we structure the process so every home gets the same level of diligence and clarity.
Standard workflow
- Intake and priorities: Note owner/buyer concerns (e.g., tripping breakers, flickering lights) and map them to the inspection path.
- Exterior and service: Look at weatherhead or lateral, meter, mast, drip loops, and service conductor condition.
- Main panel: Verify rating, neutral/ground separation where applicable, conductor sizes, terminations, and thermal cues.
- Protection: Identify GFCI/AFCI devices and test coverage in kitchens, baths, garages, exteriors, and living spaces.
- Branch-circuit sampling: Test representative outlets and switches for polarity, grounding, and operation.
- Fixtures and fans: Operate lights, bath fans, and exterior fixtures; note inoperative or unsafe installations.
- Grounding and bonding: Observe grounding electrode paths and bonding of metal piping or enclosures.
- Documentation: Capture photos, annotate issues, and create a prioritized action list with safety notes.
| Step | What we do | Typical tools | Outcome |
|---|---|---|---|
| Intake | Gather goals, history, concerns | Checklist, interview | Customized focus areas |
| Service | Assess service drop/mast/meter | Camera, binoculars | Safety and capacity context |
| Main panel | Open and inspect panel | Flashlight, IR thermometer | Wiring and termination status |
| Protection | Confirm GFCI/AFCI coverage | GFCI/AFCI testers | Shock/arc-fault resilience |
| Sampling | Test outlets/switches | Receptacle tester, multimeter | Polarity/grounding verified |
| Reporting | Compile same-day PDF | Camera, software | Actionable recommendations |
For a deeper consumer primer on what to expect, see this practical electrical inspection overview. We align our approach with widely accepted safety practices and add photos so decisions are simple.

Types of Electrical Issues and Risk Categories
Inspectors classify issues by safety impact: immediate hazards (shock/fire risk), significant defects (functional or protective gaps), and maintenance items (wear or age). This triage guides negotiations and helps owners plan repairs in the right order.
Not all findings carry the same urgency. We categorize issues so you can fix what matters first and plan the rest logically.
Common immediate hazards
- Overheated conductors or breakers: Heat staining, melted insulation, or scorched bus bars.
- Missing or bootleg grounds: Ungrounded three-prong outlets or false grounds increase shock risk.
- Exposed splices: Open-wire connections outside junction boxes; missing covers.
- Improper double-lugging: Two conductors under a single lug not designed for it.
- Water intrusion: Corrosion in panels or exterior receptacles compromises safety.
Significant defects that warrant timely repair
- Insufficient GFCI coverage: Kitchens, bathrooms, garages, basements, and exteriors should have GFCI protection.
- Missing AFCI protection: Bedrooms and living areas benefit from arc-fault protection in modern standards.
- Outdated or damaged panels: Loose bus connections, brittle breakers, or obsolete equipment.
- Aluminum branch wiring (older homes): Requires proper terminations and approved connectors.
Maintenance items to monitor
- Loose device strap screws: Wobbly outlets or switches; faceplate gaps.
- Flickering lights: Often bulb or fixture related; sometimes a sign of loose neutrals.
- Labeling gaps: Unlabeled panels slow response during emergencies.
Want a homeowner-friendly primer on typical wiring concerns? This household electrical wiring guide is a helpful read for basic concepts.
Best Practices for Homeowners Before and After Inspection
Prepare by clearing access to the panel, testing smoke/CO alarms, and listing any symptoms (tripping, buzzing, odor). After the inspection, address immediate hazards first, then plan upgrades like GFCI/AFCI additions and labeling. Keep the report handy for contractors and negotiations.
Simple preparation improves inspection quality and speeds up any follow-up work.
Before your inspection
- Ensure access: Clear three feet in front of the main panel and easy reach to attics/basements.
- List symptoms: Breakers that trip, warm faceplates, or buzzing fixtures—note locations.
- Gather records: Renovation permits, panel upgrades, or electrician invoices.
- Check alarms: Test smoke and carbon monoxide detectors; replace aging units.
After your inspection
- Triage repairs: Fix shock and fire hazards first based on the report’s priority levels.
- Plan protections: Target GFCI for wet areas and AFCI where arc-fault protection is appropriate.
- Label clearly: Update panel directories so occupants can respond fast in emergencies.
- Document work: Keep contractor photos and invoices with your report for future buyers.
We organize recommendations in our same-day PDF report so you can hand a clean, prioritized list to your electrician or use it for purchase negotiations.
Tools and Resources Inspectors Use
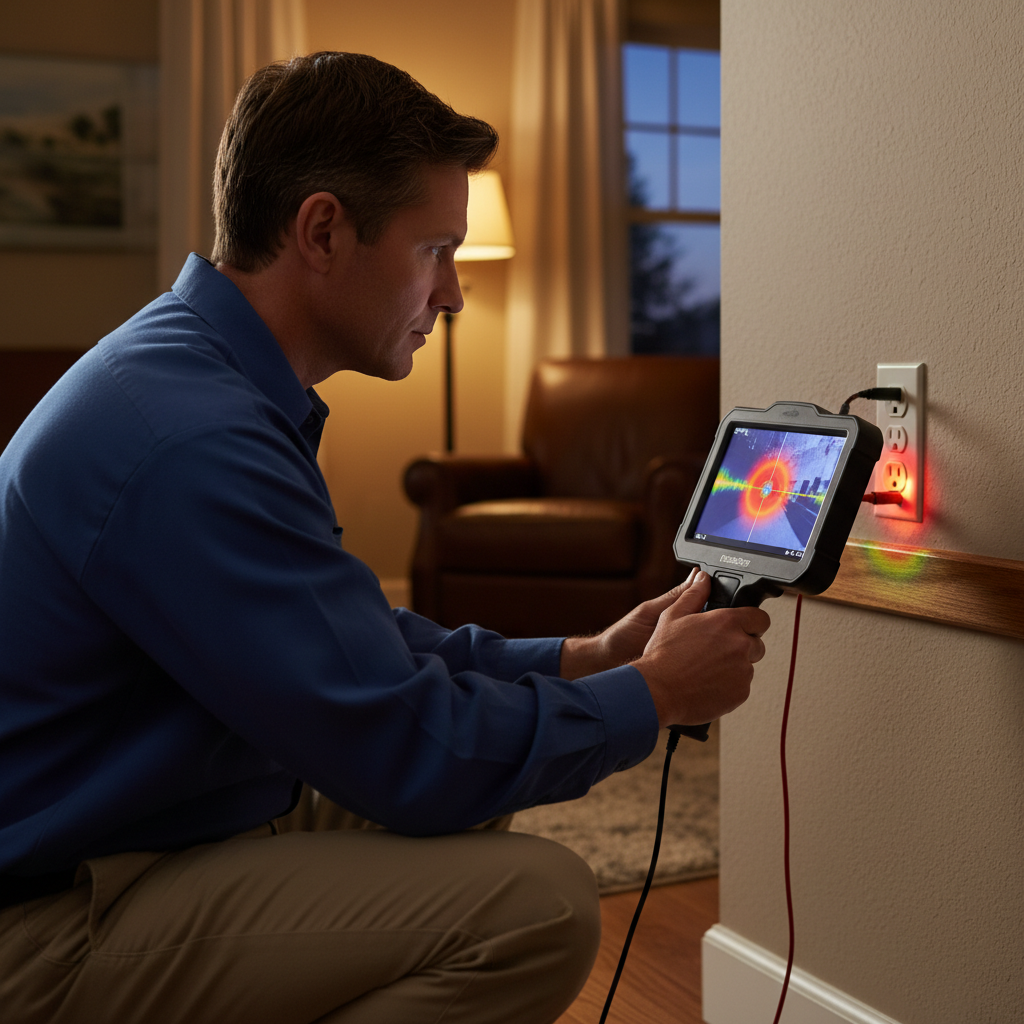
Inspectors rely on non-invasive tools—receptacle testers, GFCI/AFCI indicators, multimeters, infrared thermography, and moisture meters—to detect heat, wiring errors, or intrusion. The right tool confirms a concern without dismantling finished walls.
We choose instruments that surface safety and performance issues while respecting finishes and access limits typical of home inspections.
Key instruments in our kit
- Receptacle and GFCI testers: Quick polarity and trip tests at outlets.
- AFCI indicator tools: Stimulate arc conditions at receptacles to verify protection in applicable areas.
- Multimeter: Spot checks for voltage at suspect devices or circuits.
- Infrared camera: Locates thermal anomalies at panels, terminations, and overloaded devices.
- Moisture meter: Confirms suspected water intrusion near panels or exterior outlets.
For a consumer-friendly explainer of typical inspection touchpoints, see this accessible electrical inspection guide. It mirrors many homeowner questions we hear daily.
Case Studies and Real-World Examples in the GTA
Real inspections surface repeatable patterns: missing GFCI in older kitchens, mislabeled panels, and worn exterior outlets. By documenting photos and triaging severity, buyers negotiate repairs, sellers prevent deals from stalling, and owners plan upgrades in logical phases.
In our experience inspecting homes for Suite 2000 buyers, sellers, and property managers, a few scenarios repeat. These brief case insights show how clear reporting drives action.
Buyer scenario: mislabeled panel and missing GFCI
- Kitchen small-appliance circuits lacked GFCI outlets; the panel directory was incomplete.
- We documented device locations, panel photos, and provided a high-priority note for shock protection.
- Outcome: Buyer negotiated seller-provided corrections before closing.
Seller scenario: exterior receptacle deterioration
- Weather-exposed outlet showed corrosion and loose cover; IR scan suggested warm terminations.
- Seller replaced the device and added an in-use cover based on the report.
- Outcome: Listing proceeded without electrical objections.
Annual maintenance: thermal hot spot caught early
- Routine visit revealed a warm breaker under typical load; torque at the lug was marginal.
- Report recommended qualified electrician to re-terminate and verify torque.
- Outcome: Early correction prevented progressive damage.
Local considerations for Suite 2000
- Seasonal humidity can impact exterior receptacles and garage GFCI devices; schedule checks after the thaw and again before winter.
- Peak moving seasons increase booking demand—reserve inspections early to keep closing timelines on track.
- For mixed-use or rental conversions, ensure smoke/CO coverage and labeling are consistent before tenant move-ins.
House Electrical Inspection FAQ
Homeowners ask about scope, safety tests, and follow-up. We confirm outlet polarity, grounding, GFCI/AFCI coverage, panel conditions, and visible wiring. You’ll receive a same-day PDF with photos, priorities, and next steps you can share with contractors or use in negotiations.
What does a house electrical inspection include?
It covers the service entrance and main panel, representative outlets and switches, lighting and fans, GFCI/AFCI protection where appropriate, and observations on grounding and bonding. We test accessible devices non-invasively and document everything with photos and clear recommendations.
Do I need to be present during the inspection?
You don’t have to be there, but it helps. Being present lets you see findings firsthand and ask questions in context. If you can’t attend, our same-day PDF report and follow-up call will walk you through priorities and next steps.
How long does the electrical portion take?
Timing depends on size and access, but the electrical review typically fits within a standard whole-home inspection window. We spend enough time to test representative devices, examine the panel, and document clear recommendations for action.
Will the inspector remove devices or open walls?
No. Home inspections are non-invasive by design. We remove the main panel cover when safely accessible and use tools like receptacle testers and infrared cameras to evaluate conditions without dismantling finished surfaces.
Key Takeaways
Electrical inspections safeguard families and transactions by revealing hazards, confirming protections, and organizing fixes. A photo-rich, same-day PDF helps you act fast—whether you’re buying, selling, or maintaining a home.
- Electrical systems can hide risk; inspections reveal it before it’s costly.
- GFCI and AFCI coverage are simple upgrades with outsized safety value.
- Clear labeling, access, and documentation speed emergency response.
- Use the report to negotiate or sequence upgrades sensibly.
Conclusion and Next Steps
Schedule a certified inspection to get a clear picture of electrical safety and maintenance priorities. With same-day reporting and photo evidence, you can negotiate confidently and plan repairs without guesswork.
Ready to move forward? Here’s a simple path that keeps momentum without sacrificing safety.
- Book your inspection: Pick a time that aligns with due diligence or listing prep.
- Prepare access and notes: Clear the panel area and list any symptoms to investigate.
- Review the report the same day: Triage urgent items, then sequence upgrades.
- Share with your electrician: Provide photos and priorities to streamline quotes and work.
Need a certified inspection in Suite 2000? Our InterNACHI and CCPIA credentials cover both homes and commercial spaces. We deliver clear, same-day PDFs so you can act fast. Visit Asmhomeinspection to schedule.