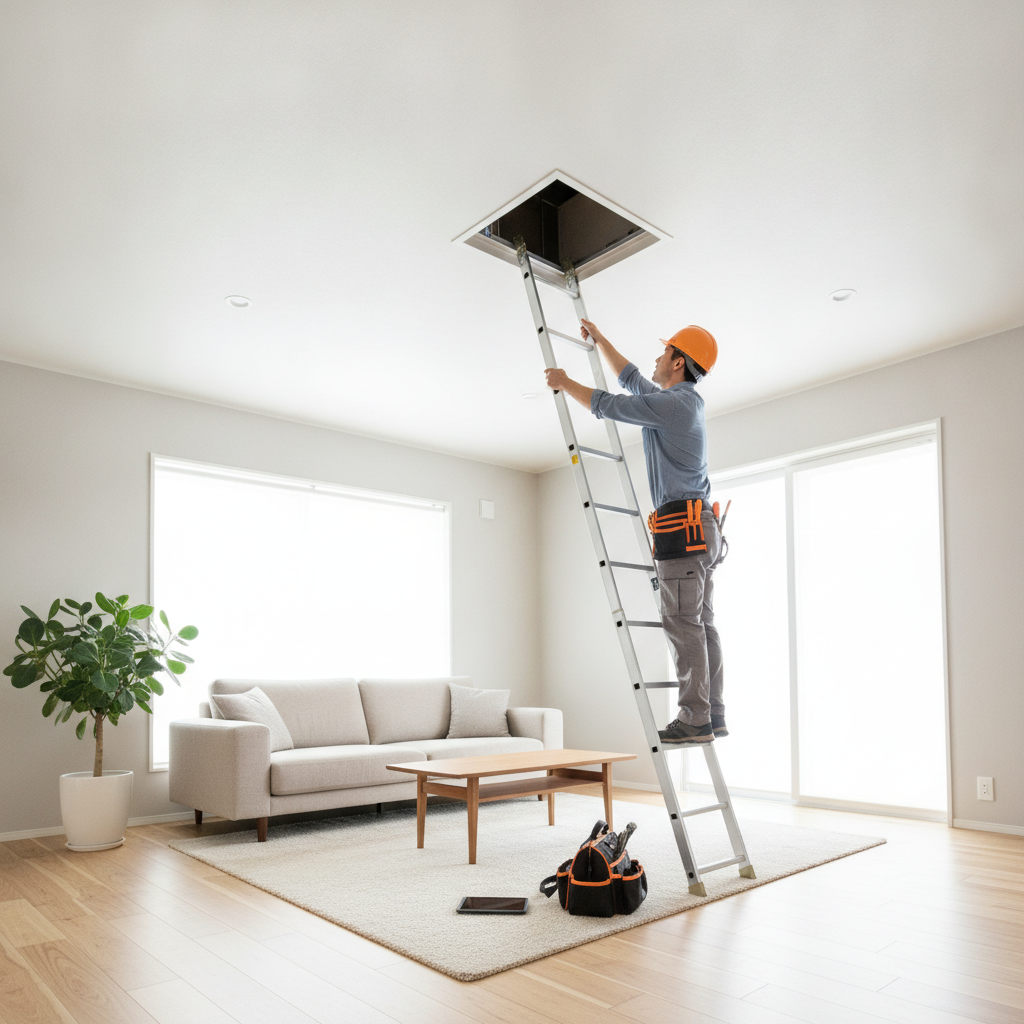
A home inspection report is a written, photo-rich summary of a property’s condition created by a certified inspector. It documents safety issues, defects, and maintenance needs across major systems. For buyers in Suite 2000 (Toronto, ON) working with ASM Home & Commercial Inspection, the report arrives as a same-day PDF so you can decide with confidence.
By Asmhomeinspection • Last updated: 2026-06-21
Above-the-fold overview and table of contents
A modern home inspection report highlights condition, safety, and maintenance findings with labeled photos and plain-language recommendations. Use this section to jump to definitions, why reports matter, the step-by-step creation process, formats, tools, best practices, real examples, and FAQs—so you can read, interpret, and act on your report quickly.
- What is a home inspection report?
- Why a report matters
- How the report is created
- Types and formats
- What’s inside the report
- Ratings and priorities
- Tools and technology
- Best practices to use it
- Case studies and examples
- FAQ
Quick summary
Your home inspection report is a decision document. It distills on-site observations into action steps for safety, repairs, and maintenance—supported by photos and clear language. Read the summary first, verify high-priority items, and coordinate with your agent and contractors using the same-day PDF from ASM Home & Commercial Inspection.
The report is the shared source of truth for buyers, sellers, and agents across the Greater Toronto Area. We emphasize moisture intrusion, attic ventilation, electrical protection, and foundation movement—issues that commonly affect long-term safety and durability.
What is a home inspection report?
A home inspection report is an inspector’s written record of observed conditions on inspection day. It summarizes findings by system, adds labeled photos, and lists recommendations with priority levels. It follows standards of practice, serves as a snapshot in time, and helps clients make informed, timely decisions.
Think of it as your owner’s manual for the specific property. It typically includes a scope and limitations page, an executive summary, and detailed sections for roof, attic, structure/foundation, plumbing, electrical, HVAC, interiors, insulation/ventilation, and site drainage. In our experience, concise summaries and annotated photos speed negotiations and reduce misunderstandings.
Why a home inspection report matters
The report turns observations into negotiation-ready facts. It clarifies safety risks, urgent repairs, and maintenance tasks, reducing surprises after move-in. Because everyone references the same document, conversations stay objective and timelines stay on track.
For GTA transactions with tight conditions, a clear summary page often narrows attention to the handful of issues that affect decisions or move-in safety. Moisture findings, missing GFCI/AFCI protection, or attic ventilation problems are common examples that change schedules and contractor priorities.
Reading reports is a skill. Guidance on interpreting structured documents—like the plain-language approach discussed by Malika Homes—mirrors our philosophy: define scope, highlight key insights, then provide context for action.
How a home inspection report is created (step-by-step)
Inspectors follow a repeatable route: confirm scope, inspect exterior and roof, review structure, test mechanicals, document interiors and attic, then conduct a client walkthrough. Notes and photos are tagged in reporting software, compiled, and delivered as a same-day PDF with an executive summary and recommendations.
- Pre-inspection prep: confirm access to attic and basement; ensure power, gas, and water are on.
- Exterior and roof: check grading, drainage, siding, roofing, flashing, gutters, and downspouts.
- Structure/foundation: observe settlement indicators, cracks, moisture marks, and supports.
- Mechanicals: evaluate electrical protection (GFCI/AFCI), panel labeling, plumbing leaks and materials, water heater age, furnace/AC operation, venting, and filters.
- Interiors and attic: test windows/doors, stairs/railings, bath/kitchen fixtures, insulation levels, and ventilation balance.
- Client walkthrough: explain top findings onsite; confirm next steps and delivery timeline.
- Same-day PDF: compile photos, notes, and priority tags; send to client and agent.
We document limitations clearly (for example, inaccessible spaces or shut-off systems). When necessary, we recommend further evaluation by licensed contractors. This transparency keeps expectations realistic while protecting all parties.
Types and formats of home inspection reports
Reports come as checklist, narrative, or hybrid formats—often delivered as universally readable PDFs. The most usable reports pair plain-language narratives with labeled photos and clear priority levels, enabling buyers, sellers, and lenders to act without guesswork.
Format affects how quickly you can interpret findings. Hybrid reports combine the best of both worlds: the scanning ease of checklists with the clarity of short narratives and photo captions. Web portals sometimes add repair-request tools; PDFs remain reliable, portable, and timestamped.
| Format | Strengths | Watch-outs | Best for |
|---|---|---|---|
| Checklist | Fast to scan; consistent structure; easy to sort | Can lack context; photos may feel disconnected | Seasoned buyers/agents who want speed |
| Narrative | Rich explanations; clearer recommendations | Longer to read; varies by writer | First-time buyers, complex properties |
| Hybrid | Scan-friendly with plain-language notes and photos | Requires disciplined structure to avoid bloat | Most residential transactions |
Industry listings, like HouseUp directories, show a wide range of reporting styles. When interviewing inspectors, ask for a sample report and verify it matches your reading preference and timeline needs.
What’s inside the home inspection report (section-by-section)
Expect a cover page, scope and limitations, an executive summary, and detailed system sections: roof, attic/insulation, structure/foundation, plumbing, electrical, HVAC, interiors, appliances, and site. Each finding includes a location, photo, explanation, and recommendation with a priority level.
Typical sections you’ll see
- Roof and exterior: shingles, flashing, eaves, siding, grading, and drainage patterns.
- Attic and insulation: ventilation balance, approximate insulation depth, and any moisture staining. (This ties to our attic inspection pillar.)
- Structure and foundation: settlement marks, cracks, posts, beams, and moisture indicators.
- Plumbing: supply/drain materials, visible leaks, water heater age, and functional flow.
- Electrical: service size, breakers, GFCI/AFCI protection, bonding/grounding, receptacles.
- HVAC: furnace/AC operation, ducting condition, filters, combustion air and venting.
- Interior: windows/doors, stairs/railings, kitchens/baths, flooring, and ceilings.
- Site: walkways, porches/decks, garage, and outbuildings when applicable.
Photos carry the narrative. We annotate images to show the exact location and nature of issues—like a missing kickout flashing, a double-tapped breaker, or condensation on supply ducts. Clear images accelerate contractor quotes and help you verify repairs before closing.
Defect ratings and priority levels
Clear ratings turn findings into action. Common categories include Safety Hazard, Repair Now, Monitor, and Upgrade. A concise summary page highlights the highest-priority items, while full details and photos live in each section for context and future reference.
- Safety Hazard: Immediate risk to people or property (for example, live conductors, active leaks near electrical).
- Repair Now: Function is impaired or deterioration is advancing; plan prompt repairs.
- Monitor: Not urgent but requires periodic checks, especially through seasonal changes.
- Upgrade: Improves efficiency, durability, or safety (e.g., add GFCI to older circuits).
To stay organized, group action items by trade (roofing, electrical, plumbing, HVAC, general). This keeps your agent and contractors aligned on scope and timelines. We include location cues in captions so you can find issues quickly during re-inspection or final walkthroughs.
Tools and technology behind the report
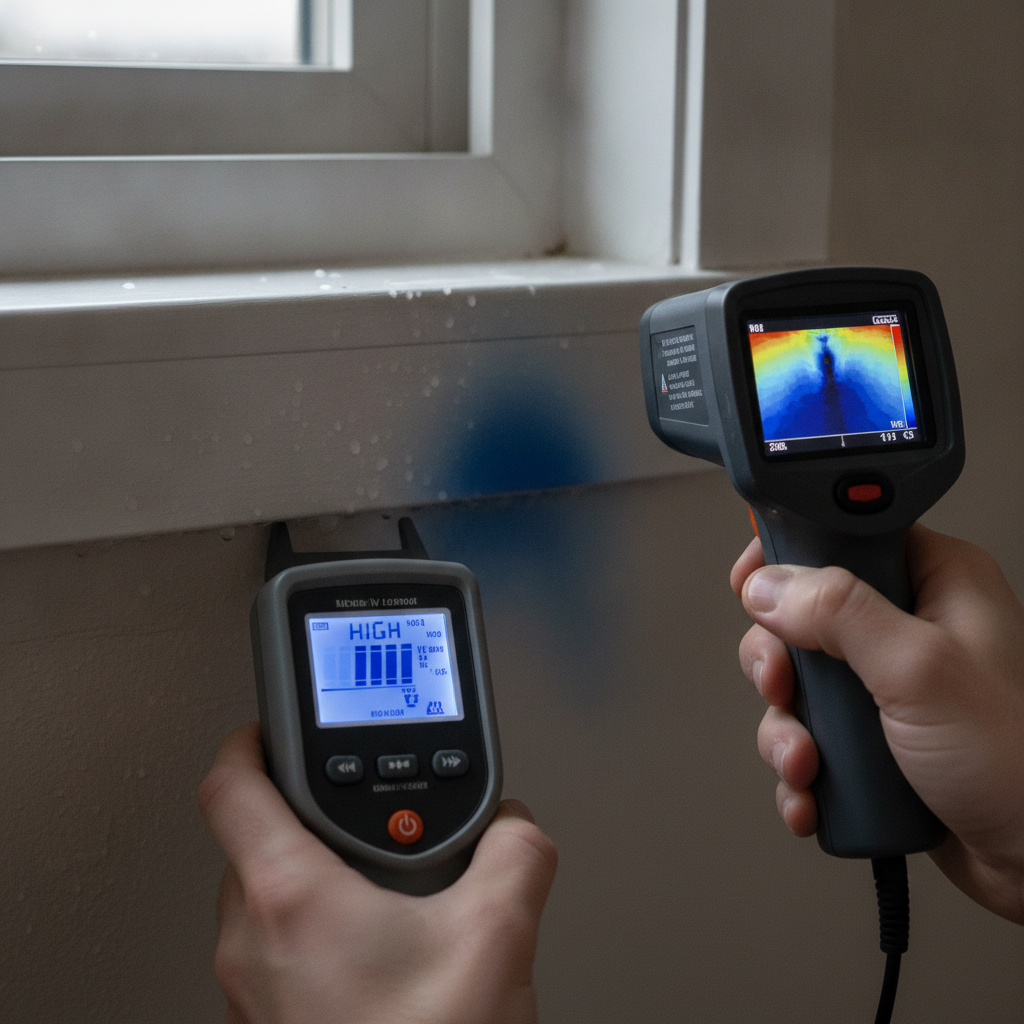
Professional inspectors use moisture meters, thermal imaging, outlet testers, gas/leak detectors, ladders, and cameras. Data from these tools becomes annotated photos and plain-language notes—especially for moisture intrusion, ventilation balance, and electrical safety features.
Thermal imaging can reveal temperature anomalies behind finishes; moisture meters help confirm whether dark patterns are temperature-related or actual moisture. Outlet testers document GFCI/AFCI protection and polarity. When access is limited, photos show constraints transparently so you can plan follow-up evaluations.
If you like to study how documents are structured and attached for clarity, the outline-oriented approach highlighted by Key Mortgage offers a useful parallel: organize details, label sections, and keep artifacts accessible for quick reference.
Best practices: how to read and use your report
Start with the executive summary, then scan Safety and Repair Now items. Flag the 5–8 findings that could delay closing or affect safety. Ask clarifying questions, then share the PDF with your agent and contractors to align quotes and timelines around the same evidence.
Checklist to move from insight to action
- Open the summary; list Safety and Repair Now items with page numbers.
- Group findings by trade (roofing, electrical, plumbing, HVAC, general handyman).
- Use photo captions to mark exact locations (for example, “north wall, bedroom 2”).
- Ask your inspector about any unfamiliar terms before you request quotes.
- Share the PDF with your agent; align on which items are negotiation targets versus post-close maintenance.
- Collect receipts and before/after photos for seller-performed repairs; attach to your records.

Pro tip: Keep your report handy for future maintenance. Use it as a living baseline during your first annual maintenance inspection. Mark completed items and add dates. This habit preserves resale value and simplifies future negotiations.
Need a sample report or have questions? Explore our process and request a walkthrough on our Asmhomeinspection website. We serve buyers, sellers, investors, landlords, tenants, and commercial owners across the GTA—and deliver same-day PDFs you can act on.
Case studies and real-world examples
Short examples show how reports drive decisions. A condo moisture issue, a detached home with attic ventilation problems, and a retail unit with missing GFCI protection used the report to prioritize safety, schedule contractors, and close with fewer surprises.
Example 1: Condo bath moisture (buyer)
- Thermal imaging showed a cold pattern behind shower tile; meter readings supported moisture presence.
- Report flagged “Repair Now” with a recommendation for further evaluation by a qualified contractor.
- Seller arranged repairs pre-closing; buyers validated work with follow-up photos before final walkthrough.
Example 2: Attic ventilation and staining (detached)
- Attic inspection found blocked soffits, inadequate ventilation, and dark staining resembling microbial growth.
- Report prioritized remediation and added ventilation; post-work humidity stabilized.
- Buyer used photos and captions to scope quotes accurately and verify results.
Example 3: GFCI protection in a small retail suite
- Near a prep sink, outlets lacked GFCI protection; the report labeled this “Safety Hazard.”
- Electrician installed protection before occupancy; re-inspection confirmed correction with photos.
- Tenant’s move-in checklist incorporated the corrected items to maintain documentation.
These outcomes are common because everyone works from the same evidence: annotated photos, locations, and clear recommendations. That shared baseline is what converts findings into confident decisions.
Local considerations for Suite 2000
In Suite 2000 (Toronto, ON), seasonal swings and building access policies shape inspections. Plan around hot-cold transitions for roofs and attics, secure access to shared systems in multi-unit buildings, and schedule early during peak weekends to maintain closing timelines.
Local considerations for Suite 2000
- Plan inspections around seasonal temperature swings; roof and attic ventilation issues often surface during hot–cold transitions.
- Weekend bookings fill quickly around holiday periods; schedule early if your closing date lands right after a long weekend.
- Condo and mixed-use properties may require notice for mechanical rooms; confirm building policies so we can access all areas.
How to compare inspectors and their reports
Evaluate sample reports for clarity, photo quality, and priority labeling. Confirm certifications (InterNACHI and CCPIA), scope coverage, and delivery timeline. Choose the reporting style you can read fast under deadline pressure—ideally a hybrid format with an executive summary and annotated photos.
- Ask for a full sample report and verify it covers roof, attic, structure/foundation, plumbing, electrical, HVAC, interiors, and site.
- Look for crisp, well-lit photos with arrows or callouts and precise location references.
- Confirm same-day PDF delivery and whether a repair-request list is supported.
- Check professional affiliations: InterNACHI (residential) and CCPIA (commercial).
- Review communication style—direct, plain English explanations speed decisions.
We welcome comparisons. Visit our website to learn how we document moisture intrusion risks, attic ventilation, electrical protection, and foundation movement in a way that helps you act the same day.
Key takeaways
Use your home inspection report as a shared source of truth. Read the summary first, act on safety and urgent repairs, group tasks by trade, and verify fixes with photos. Keep the PDF as a living baseline for maintenance and future negotiations.
- The report is a decision tool, not a warranty or future guarantee.
- Photos and clear priorities turn observations into actionable steps.
- Share the same-day PDF with your agent and contractors to align timelines.
- Revisit the report during your first annual maintenance inspection.
Frequently asked questions
These answers cover timing, scope limits, attendance, and next steps. Use them to set expectations and plan your closing timeline with confidence.
When will I get my home inspection report?
You’ll typically receive a same-day PDF, often within hours of the site visit. That lets you review findings, ask questions, and coordinate responses without losing valuable time in a tight closing window.
Is the report a guarantee that nothing will break?
No. A report captures observed conditions on the day of inspection. Hidden or future issues can still occur. Its value is documenting risks, safety items, and recommended actions so you can make informed choices.
Can I attend the inspection to see what goes into the report?
Yes. Joining the walkthrough helps you see components in person and ask questions. You’ll still receive a thorough PDF with photos, notes, and next steps for reference and contracting.
What if an area is inaccessible during the inspection?
We document the limitation clearly in the report and explain potential impacts. If needed, we recommend safe access or further evaluation by a qualified contractor to complete the assessment.
Will the report include cost estimates?
We focus on condition, safety, and recommendations rather than pricing. Your agent and contractors can provide quotes tailored to the property’s specifics and your preferred scope and materials.
Conclusion: turn documentation into confident decisions
A clear home inspection report helps you prioritize safety, plan repairs, and negotiate with evidence. Read the summary, verify locations with photos, and coordinate with your agent and contractors. Keep the same-day PDF as your maintenance baseline for the year ahead.
Ready to see how a well-structured report reads? Request a sample and schedule your inspection on the Asmhomeinspection site. We serve Suite 2000 and the broader GTA with certified residential and commercial inspections—and we deliver fast, readable, same-day PDFs.