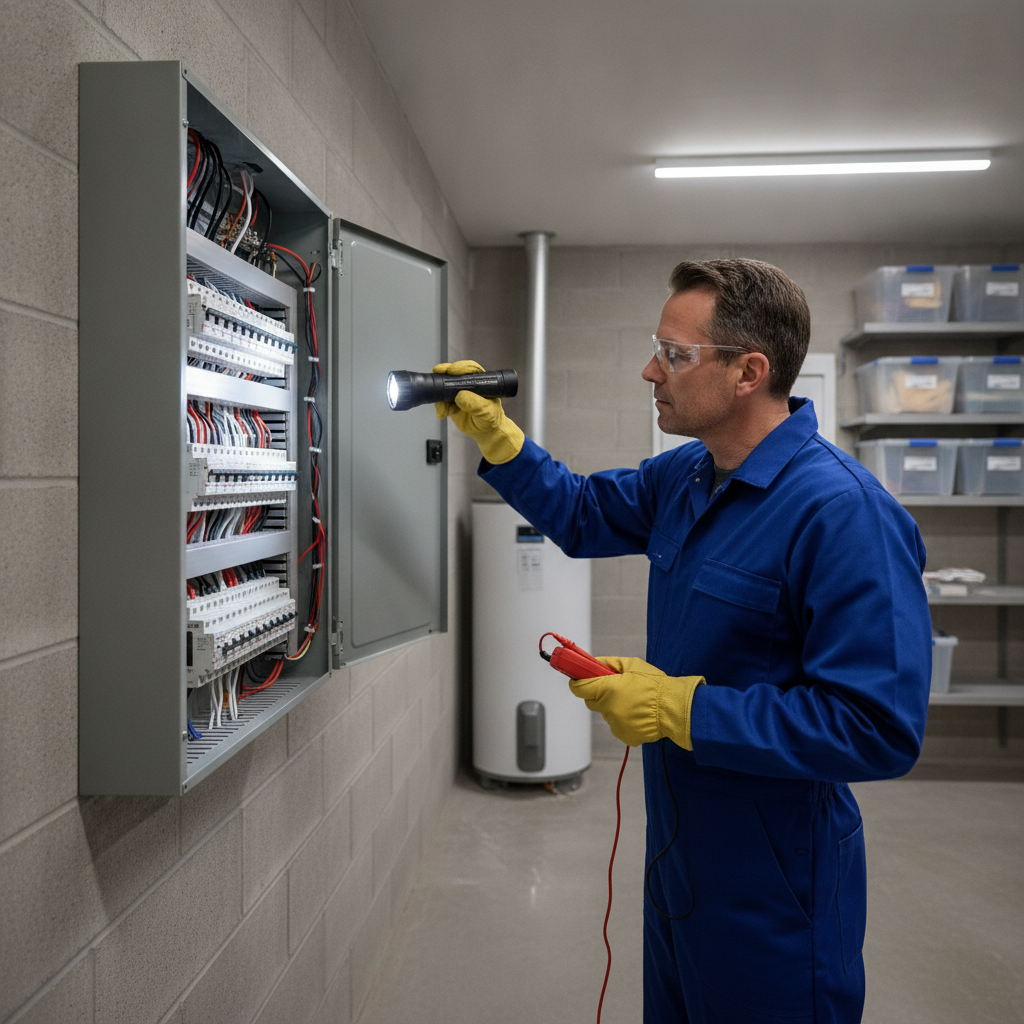
Electrical panel inspection is a systematic evaluation of a property’s main service equipment—panel enclosure, feeders, breakers, grounding/bonding, and labeling—to confirm safe operation and code-aligned conditions. In Suite 2000 (Toronto, ON), ASM Home & Commercial Inspection includes this check in whole-home and commercial inspections with same-day PDF reports so you can act quickly.
By Asmhomeinspection • Last updated: 2026-06-22
Quick Overview and Table of Contents
This guide explains what an electrical panel inspection covers, why it matters for safety and transactions, how pros perform it, and what owners should do next. Use the table of contents to jump to definitions, step-by-step process, common issues, tools, best practices, local tips, and FAQs.
When we inspect a panel, we assess capacity (amperage), conductor conditions, breaker sizing, protective devices (GFCI/AFCI), labeling, and working clearances. We document anything that elevates shock or fire risk and recommend fixes that meet current standards. Here’s how this complete guide is organized for fast scanning:
- What an electrical panel inspection is and isn’t
- Why inspections reduce risk and help with insurance and real estate deals
- How inspections work step by step with safety controls
- Panel types, common defects, and what to prioritize
- Best practices, owner checklists, and maintenance timing
- Professional tools and reference resources
- Local considerations for Suite 2000 (Toronto, ON)
- Case studies from GTA-style properties
- FAQs, key takeaways, and next steps
What Is an Electrical Panel Inspection?
An electrical panel inspection is a focused evaluation of the service panel, breakers, wiring, grounding/bonding, labeling, and clearances to verify safe, reliable power distribution. Inspectors document hazards and deficiencies, then provide a report with prioritized recommendations to reduce fire and shock risks.
Think of the panel as the command center for your property’s electrical system. A structured panel review verifies that the right amperage reaches branch circuits, overcurrent devices are correctly sized, wiring shows no overheating or damage, and safety protections are installed where required. Modern homes usually have 100–200 amp service; older homes may still operate on 60–100 amps, which can be a limitation when adding large appliances or EV chargers.
- Scope elements: main disconnect, service conductors, neutrals/grounds, breaker sizing, wire gauge, terminations, bonding jumpers, surge protection, and labeling.
- Safety devices: GFCI protection for wet areas and exterior circuits; AFCI protection on many 120-volt 15- and 20-amp residential circuits per modern standards.
- Clearances: Working space is commonly 30 inches wide and 36 inches deep with at least 6 ft 6 in headroom—vital for safe servicing.
- Deliverable: a same-day PDF report summarizing findings, photos, and next steps—standard in our inspections.
At ASM, panel inspections are part of our comprehensive scope that also covers roof, attic, structure/foundation, plumbing, HVAC, and more. Our InterNACHI and CCPIA certification signals that we follow recognized standards of practice and safety protocols.
Why Electrical Panel Inspections Matter
Panel inspections catch heat damage, incorrect breaker sizing, loose terminations, and missing protection that lead to fire and shock hazards. They also support insurance and real estate decisions by documenting risk levels and necessary upgrades with photos and clear language.
The electrical panel concentrates energy. Any weakness here—loose lugs, corrosion, oversized breakers, or burnt insulation—can cascade into overheating and nuisance tripping. In our experience, panels installed decades ago often lack modern protections or have added circuits that strain original capacity. Identifying these gaps early helps prevent failures that interrupt daily life and damage equipment.
- Fire risk reduction: Heat marks, melted insulation, and double-tapped breakers are red flags we see regularly. Early fixes reduce the odds of thermal damage.
- Shock prevention: Proper grounding and bonding provide a low-impedance fault path. Missing or loose bonds raise touch-voltage risks.
- Insurance & transactions: A clean report can streamline underwriting and negotiations. Documented hazards, with photos, clarify scope for licensed electricians.
- Capacity planning: Many homes add 240-volt loads (heat pumps, EV charging). Verifying available capacity and feeder size avoids surprise limitations.
We align our recommendations with how you actually use the property. For example, a rental with frequent tenant turnover benefits from enhanced labeling and tamper-resistant devices. A home office with servers may need surge protection and load balancing to protect electronics.
How an Electrical Panel Inspection Works
Inspectors verify safe access, open the dead front, and visually check conductors, lugs, and breakers. They compare breaker sizes to wire gauge, review grounding/bonding, scan for heat, and assess labeling and clearances. Findings are documented with photos and prioritized recommendations in a same-day report.
We approach panels with a standardized, safety-first method. Clear access and lighting come first. Working space around the panel must be free of storage to prevent accidental contact. After safety checks, we remove the cover (dead front) and perform a structured sequence of observations.
- Preparation and safety: Confirm working clearances (commonly 30" width, 36" depth). Use PPE and insulated tools. Verify the main disconnect location.
- Exterior assessment: Check enclosure integrity, rust, moisture signs, and whether the panel is appropriately rated for its location (indoor vs. damp areas).
- Internal review: Inspect conductor insulation, look for discoloration or carbonization, and confirm that each neutral has a dedicated terminal where required.
- Breaker-to-wire validation: Match breaker amperage to conductor size (e.g., 14 AWG typically on 15A breakers; 12 AWG on 20A). Identify oversized breakers.
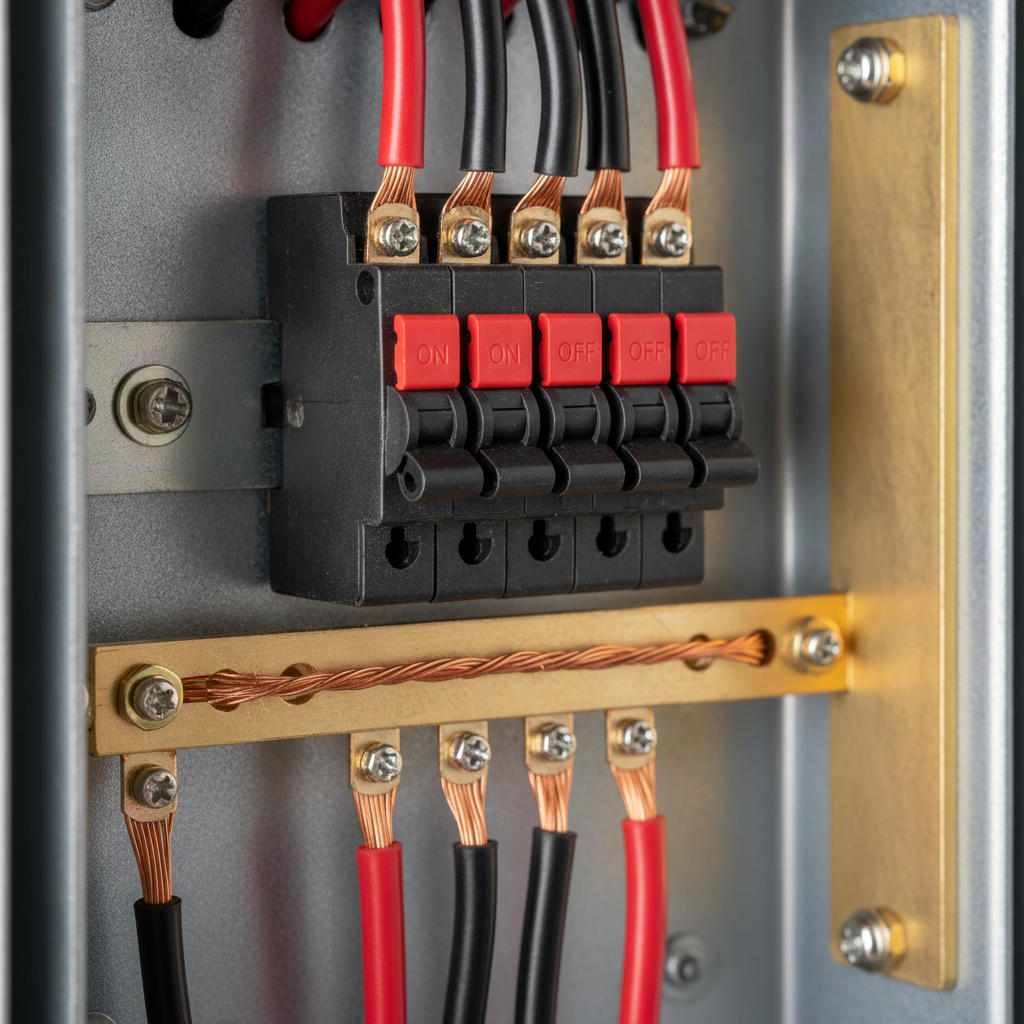
- Grounding and bonding: Verify bonding jumpers, grounding electrode conductor presence, and correct separation of neutrals/grounds in subpanels.
- Protection and labeling: Note GFCI/AFCI coverage where expected. Check that circuits are labeled legibly and accurately.
- Thermal scan (when applicable): Infrared patterns can reveal loose lugs or overloaded circuits through temperature anomalies.
- Documentation: Photograph conditions, record serials/ratings, and write plain-language recommendations.
Our same-day PDF reports help you prioritize fast: safety issues first, then performance, then convenience. If an electrician’s follow-up is needed, your report becomes a ready-made scope of work.
Panel Types, Methods, and Common Issues
Residential panels are usually main-breaker load centers with 100–200 amp ratings; some older homes still have fuse boxes or split-bus designs. Common issues include double taps, oversized breakers, aluminum branch circuits with poor terminations, missing bushings, and mislabeled or unlabeled circuits.
Different panel types present different risk profiles. We tailor our review based on the equipment in front of us.
Typical panels you may see
- Main-breaker load center: The most common modern design, combining service disconnect and branch circuits in one enclosure.
- Split-bus panel (older): No single disconnect for all circuits; upper section feeds several large breakers. These demand careful evaluation.
- Subpanel: Feeds from the main panel; neutrals and grounds should be isolated. Bonding strap should be removed in subpanels.
- Fuse box (legacy): Still found in older properties. Fuses can be safe but are often mismatched after decades of service.
Frequent defects we document
- Double-tapped breakers: Two conductors under a terminal listed for one. This can lead to loose connections and heat.
- Oversized breakers: Conductors protected by amperage greater than their rating, increasing insulation damage risk.
- Aluminum branch circuits: Require approved connectors and antioxidant compound. Poor terminations can overheat.
- Neutrals and grounds on shared bars (subpanels): These must be separated to avoid parallel return paths.
- Missing bushings/anti-short devices: Sharp edges can abrade insulation at knockouts and connectors.
- Poor labeling: Unlabeled circuits slow emergency response and repairs.
Example from the field
In a 1960s detached home, we found a 20A breaker feeding 14 AWG conductors. The breaker showed minor heat discoloration. We recommended a licensed electrician correct overcurrent protection and evaluate the circuit for heat damage. The owner also added AFCI protection to several bedrooms during the same visit.
Best Practices for Owners and Managers
Keep the panel accessible, accurately labeled, and dry. Maintain clearances, avoid storing items in front, and schedule periodic inspections—especially before a sale, after renovations, or when adding high-load appliances. Prioritize safety issues first and document all corrections for future reference.
Good panel habits go a long way. We advise homeowners, landlords, and facility managers to treat the panel like life-safety equipment. That means proactive housekeeping, clear documentation, and smart planning when loads change.
Owner-ready checklist
- Keep 30" x 36" working space and adequate lighting in front of the panel.
- Use legible, specific circuit labels (e.g., “Kitchen GFCI outlets” rather than “Misc outlets”).
- Ensure the panel area stays dry; fix roof or plumbing leaks that could reach the enclosure.
- After renovations or appliance changes, confirm breaker sizes match conductor gauge.
- Consider surge protection for sensitive electronics and HVAC equipment.
Maintenance timing
- Before listing or closing: A pre-listing or pre-purchase inspection catches issues that could delay negotiations.
- After renovations: New loads or subpanels should be documented and checked for proper bonding and labeling.
- Annual maintenance inspection: A yearly check adds accountability and early-warning value for aging equipment.
Local considerations for Suite 2000
- Seasonal humidity can elevate corrosion risk around basements and utility rooms. Keep the panel’s environment dry and ventilated.
- Winter load spikes from space heaters and heat pumps can expose marginal breakers and loose terminations. Plan inspections ahead of peak seasons.
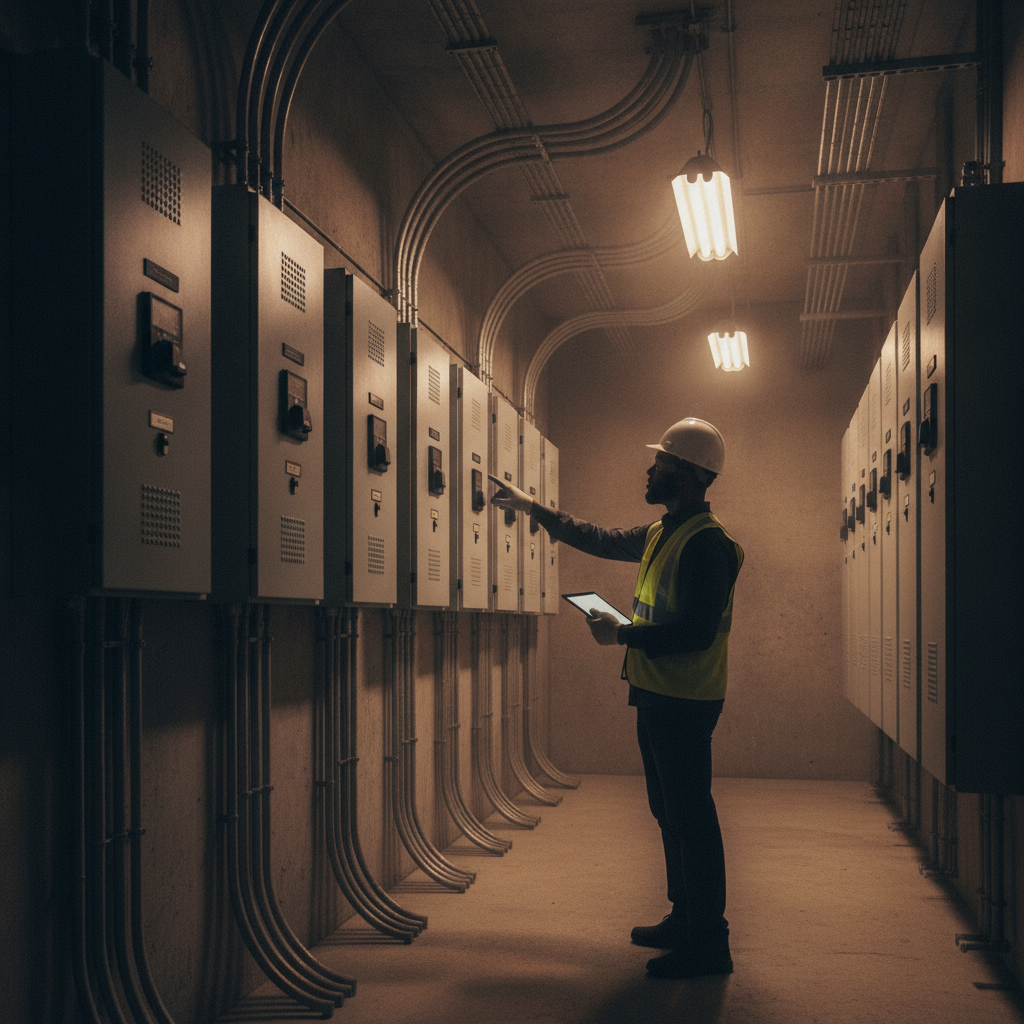
- Multifamily or mixed-use properties common in metro areas benefit from strict labeling and routine torque checks to keep shared spaces safe.
These practices pair well with broader system checks—roof, attic, foundation, plumbing, and HVAC—so your electrical findings fit within a whole-home or commercial property strategy.
Tools and Resources Inspectors Use
Pros use non-contact voltage testers, multimeters, torque screwdrivers, thermal imagers, and borescopes to assess condition without guesswork. Reference documents and labeling photos ensure clear, repeatable findings, while same-day digital reports help owners act quickly and confidently.
We rely on calibrated tools and a disciplined workflow. Tool choice depends on panel condition, access, and whether we’re inspecting a residence, condo service room, or commercial distribution area.
- Non-contact voltage tester: Screens for energized parts before we touch components.
- Digital multimeter: Measures voltage and continuity during troubleshooting when appropriate.
- Torque screwdriver: Confirms terminations meet manufacturer-specified inch-pound values to prevent loosening and heat.
- Thermal imager: Highlights hotspots from loose lugs or overloaded breakers.
- Borescope: Helps inspect tight conduit entries or recessed terminations.
For broader context on inspections and risk reduction strategies, see independent guidance on catching hidden risks early and this overview of what to expect from an inspection. If you’re considering future upgrades, review panel upgrade considerations to plan long-term.
Case Studies and Real-World Examples
Our panel findings often fall into three buckets: safety hazards, performance limitations, and convenience/documentation issues. These GTA-style scenarios show how quick documentation and clear recommendations help clients resolve risks and keep projects moving.
Condo pre-purchase: mislabeled circuits
A buyer scheduling a pre-purchase inspection wanted assurance the condo’s electrical system was modernized. The panel had adequate capacity but poor labeling—several kitchen circuits were misidentified. We recommended relabeling and verifying GFCI protection. The same-day report helped the buyer negotiate minor corrections before closing.
1960s detached home: aluminum branch circuits
In an older detached home, we found aluminum branch circuits with mixed connectors. Some terminations lacked antioxidant compound. Thermal imaging showed one warm lug. We advised a licensed electrician to re-terminate with approved connectors and evaluate AFCI coverage. The homeowner scheduled the work within a week.
Light-industrial unit: subpanel bonding
A light-industrial tenant had frequent nuisance trips. We found a subpanel with neutrals and grounds on a shared bar and a bonding strap installed. We recommended isolating neutrals from grounds and re-checking torque on feeder lugs. Trips ceased after corrections, and operations stabilized.
Comparison Table: Symptoms, Causes, and Next Steps
Use this table to translate common symptoms into likely causes and practical next steps. It’s a quick triage tool that helps owners understand which issues are safety-critical and which affect performance or documentation.
| Symptom | Likely cause | Inspector checks | Recommended action |
|---|---|---|---|
| Nuisance tripping | Overload, faulty breaker, shared neutrals | Breaker size vs. wire gauge; thermal scan; circuit mapping | Balance loads, replace breaker if defective, correct wiring |
| Warm breaker or lug | Loose termination, high load | Torque check; IR camera; evaluate connected devices | Re-torque per label, repair conductor, redistribute loads |
| No GFCI/AFCI where expected | Legacy installation, missed upgrade | Device verification; label review | Install compliant protection on affected circuits |
| Buzzing/humming | Loose components, overloaded transformer nearby | Mechanical fasteners; amp draw checks (as applicable) | Tighten hardware, consult electrician if persistent |
| Corrosion or rust | Moisture exposure, condensation | Enclosure condition; drip loops; nearby leaks | Eliminate moisture source; repair/replace panel as needed |
| Unlabeled circuits | Poor documentation | Map circuits; confirm with receptacle testers | Label accurately for faster service and emergencies |
Need an Inspector to Review Your Panel?
Book a certified home or commercial inspection with same-day reporting. We’ll assess your panel within a whole-property context and provide clear, prioritized next steps you can act on.
If you’re planning a sale, managing a rental, or adding new loads (like a heat pump or EV charger), an electrical panel inspection is smart due diligence. Schedule with our certified team and get a same-day PDF report you can share with contractors and stakeholders. Start here: ASM Home & Commercial Inspection.
Electrical Panel Inspection: Frequently Asked Questions
These quick answers address the most common questions from homeowners, buyers, and property managers. Each response is concise so you can make confident, timely decisions.
What does an electrical panel inspection include?
It includes opening the panel, reviewing conductor conditions, matching breaker size to wire gauge, checking grounding and bonding, confirming GFCI/AFCI where expected, assessing labeling and clearances, and documenting issues with photos and recommendations.
How often should I have my panel checked?
Have the panel evaluated during pre-purchase or pre-listing, after renovations or major load changes, and as part of an annual maintenance inspection. Aging equipment, signs of heat, or frequent trips warrant an earlier review.
Can I remove the panel cover myself?
We advise against DIY removal. Energized parts can be exposed when the dead front is off. A qualified inspector or licensed electrician should perform internal checks with proper safety controls and PPE.
What are the signs my panel needs attention?
Common warning signs include warm breakers, buzzing sounds, frequent trips, burnt odors, corroded parts, oversized breakers on small wires, missing GFCI/AFCI protection, or unlabeled circuits. Schedule an inspection if you notice any of these.
Do you check the rest of the home too?
Yes. Our inspections cover major systems—roof, attic, structure/foundation, plumbing, electrical, and HVAC—so your panel findings fit within a complete picture of property health.
Conclusion and Next Steps
An electrical panel inspection identifies safety hazards and capacity limits before they disrupt your life or a transaction. Prioritize corrections, document improvements, and fold panel care into your broader maintenance and inspection plan.
Here’s the bottom line: a sound panel underpins everyday reliability. Whether you’re buying, selling, or planning a renovation, address safety issues first (loose lugs, oversized breakers, missing protection), then align capacity with future loads. Keep labels clear and the working area accessible.
Key takeaways
- Panels concentrate risk; small defects can generate heat and shock hazards.
- Modern protections (GFCI/AFCI) and correct breaker sizing protect people and equipment.
- Clearances, labeling, and documentation save time during emergencies and upgrades.
- Annual maintenance inspections add early-warning value for aging equipment.
- Same-day reporting helps you act fast and coordinate licensed electrical work.
Ready to schedule a certified inspection with a same-day PDF report? Visit ASM Home & Commercial Inspection to book your appointment in Suite 2000 (Toronto, ON).