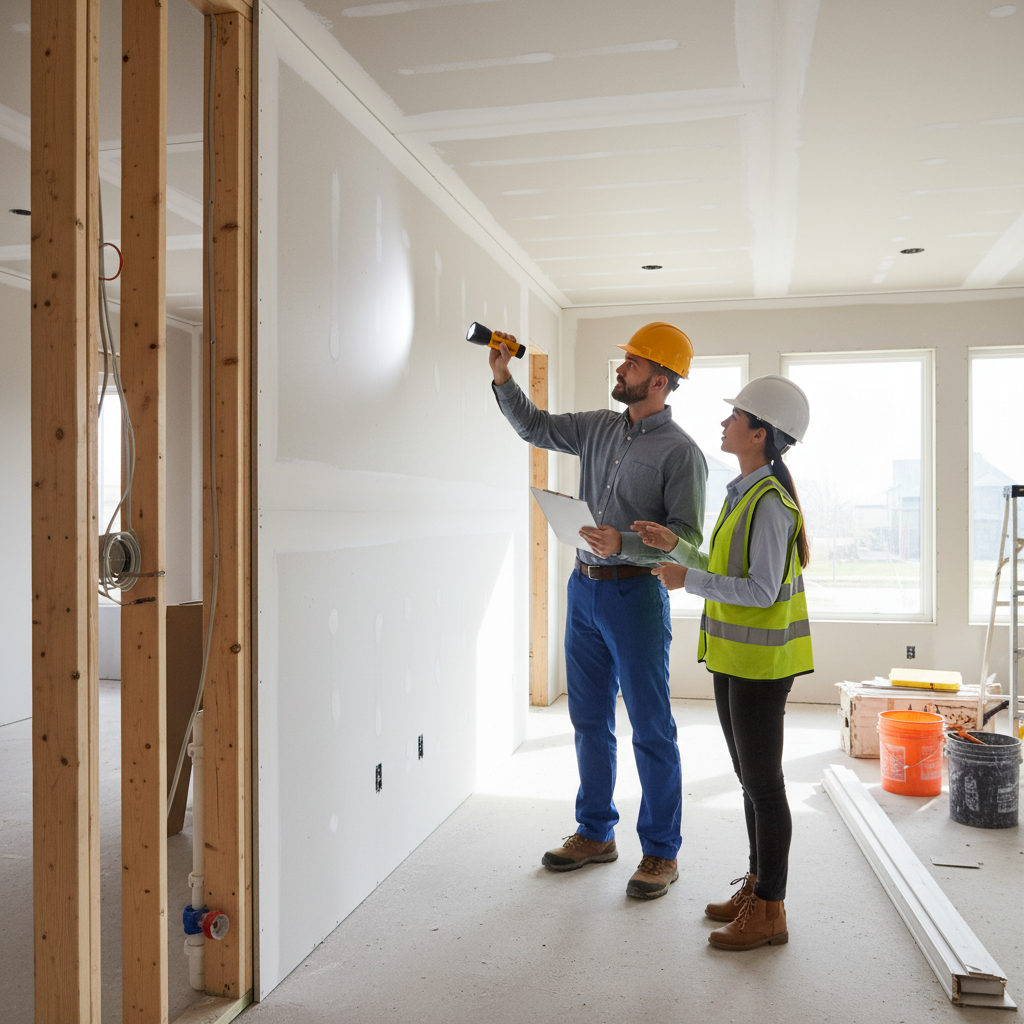
Dry wall inspection is the professional evaluation of gypsum board installation, finishing, and underlying risks across walls and ceilings. For Suite 2000 homeowners and buyers around the GTA, ASM Home & Commercial Inspection examines moisture, fastening, fire separations, and workmanship, then delivers a same-day PDF report so you can act with confidence.
By ASM Home & Commercial Inspection • Last updated: 2026-06-06
Start Here: Above-the-Fold Overview
This guide shows what inspectors check in drywall: moisture, fasteners, seams, finishes, fire separations, and hidden risks. You’ll learn how pros verify quality in new builds and lived-in homes, what tools they use, and how ASM turns findings into a same-day PDF report you can trust.
Here’s the thing: walls tell a story. Tap, scan, and measure correctly, and you’ll uncover workmanship quality, leaks, and safety details that photos can’t show. Use this section to jump to what you need fast.
- What is dry wall inspection?
- Why drywall checks matter in the GTA
- How a professional inspection works
- Types and stages of inspections
- Best practices for homeowners
- Tools and resources
- Case studies and examples
- FAQ
- Conclusion and next steps
If you’re on a tight timeline, you can book a certified inspection and get a same-day PDF report that calls out urgent issues, safety items, and maintenance priorities.
Quick Summary
Dry wall inspection verifies proper installation, finish quality, and hidden risks like moisture or missing fire barriers. Pros check seams, screw patterns, corners, and penetrations, then document defects with photos and clear recommendations. ASM provides this service across the GTA with same-day reporting for fast decisions.
- Scope: Surfaces, seams, fasteners, finish levels, moisture, thermal anomalies, and fire separations.
- When: Pre-drywall (framing stage), pre-closing, warranty, annual maintenance, and renovation checkpoints.
- Value: Catch leaks early, verify workmanship, and reduce risk before closing or listing.
- Deliverable: A structured, same-day PDF report with photos, priorities, and next steps.
Local considerations for Suite 2000
- Seasonal humidity swings around Suite 2000 amplify drywall movement. Expect more visible seam and corner cracks after dry winter periods—inspection timing matters.
- Spring thaw and heavy summer storms can push moisture into basements and exterior walls. Wall scanning and moisture mapping help prevent mold growth.
- Fast transaction cycles mean buyers and sellers need rapid reporting. Our same-day PDF format keeps negotiations moving.
What Is Dry Wall Inspection?
Dry wall inspection is a systematic evaluation of gypsum board surfaces and assemblies to confirm correct installation, finish quality, and safety. Inspectors look for moisture intrusion, fastener and seam defects, and missing fire-rated details, then document findings so buyers, sellers, and owners can make clear decisions.
In practice, a residential wall check goes beyond paint and patchwork. We assess substrate conditions, panel layout, screw and nail patterns, edge treatments, corner beads, and finishing level. We also scan for hidden moisture and temperature anomalies that suggest leaks or missing insulation.
- Visual review: Alignment, surface flatness, finish level (e.g., Level 3–5), and texture consistency.
- Mechanical checks: Fastener spacing, popped screws/nails, and joint tape integrity.
- Protection details: Fire-rated board locations, draft-stopping, and penetration sealing.
- Diagnostics: Moisture meters and thermal cameras to pinpoint concealed issues.
For buyers, this confirms workmanship before closing. For sellers, it prevents surprises during negotiation. For owners and managers, it’s a maintenance snapshot that prioritizes repairs and tracks recurring issues over time.
Why Dry Wall Inspection Matters in the GTA
Drywall issues signal larger risks—water intrusion, poor air sealing, or compromised fire separations. In the GTA’s freeze-thaw and humidity shifts, small cracks and stains can escalate fast. A targeted inspection protects safety, budget, and resale value by identifying problems before they spread.
Moisture movement drives many wall defects. Stains, musty odors, or soft drywall can point to plumbing leaks, window flashing failures, or foundation seepage. Even slight humidity differences across an exterior wall can show up as thermal patterns that signal missing or displaced insulation.
- Health and safety: Persistent dampness can lead to mold growth if not addressed quickly.
- Energy loss: Gaps and voids behind drywall allow uncontrolled air movement and heat loss.
- Fire safety: Missing Type X boards or compromised penetrations reduce rated separations.
- Negotiation leverage: Documented defects support repair requests or pricing adjustments when buying or selling.
When we work with fast-moving transactions in Suite 2000 and nearby GTA communities, same-day documentation helps agents and clients keep momentum while still exercising due diligence.
How a Professional Drywall Inspection Works
A professional drywall inspection follows a structured path: interview the client, scan interiors methodically, test suspect areas with moisture and thermal tools, verify life-safety elements, and deliver a photographic report the same day. Clear prioritization guides what to fix first and what to monitor.
Every home is different, but the workflow is consistent. We combine visual assessment with targeted diagnostics and provide plain-language recommendations. Here’s the high-level process you can expect when you book with ASM.
- Pre-brief: Understand recent leaks, renovations, and problem areas.
- Exterior cues: Note grading, gutters, and wall penetrations that influence interior walls.
- Interior scan: Room-by-room review for cracks, nail pops, stains, and patching.
- Diagnostics: Moisture meter readings and thermal imagery at high-risk areas.
- Assemblies: Verify fire-rated separations at garages and between units where applicable.
- Documentation: Photos, annotations, and an actionable summary in a same-day PDF.
Where relevant, we also confirm insulation presence at knee walls, rim joists, and behind tubs or showers on exterior walls during pre-drywall stages.
| Step | What We Do | Why It Matters |
|---|---|---|
| Visual survey | Check seams, corners, and fasteners | Reveals workmanship and stress points |
| Moisture mapping | Spot test stained or cold areas | Finds hidden leaks before damage spreads |
| Thermal imaging | Scan exterior walls and ceilings | Shows insulation voids and air leaks |
| Fire separation review | Confirm Type X board, seams, and penetrations | Supports rated assemblies and life safety |
| Actionable report | Photos, priorities, and next steps | Helps you negotiate or plan repairs |
Types and Stages of Drywall Inspections
There are four common drywall checkpoints: pre-drywall (framing), pre-closing on new or renovated homes, post-move-in/warranty periods, and periodic maintenance checks. Each stage answers different questions—quality, safety, and emerging risks—so you choose the right inspection for your situation.
Not all wall evaluations are equal. Picking the right moment lets you see the right things and reduces costly surprises.
Pre-drywall (framing stage)
- Verify framing alignment, mechanical penetrations, and insulation coverage before the drywall hides them.
- Confirm air/vapor barrier continuity at exterior walls and ceiling planes.
- Photograph key areas for your future records and builder discussions.
Pre-closing (finished but not occupied)
- Check finish quality, screw pops, joint cracks, and corner beads after paint and trim.
- Look closely at bathrooms, kitchens, and window walls where leaks start.
- Scan garages and shared walls for proper fire-rated board and sealed penetrations.
Move-in and warranty windows
- Identify seasonal movement cracks or nail pops as the home acclimates.
- Document issues within builder warranty timelines to protect your claims.
- Track recurring moisture spots after heavy rain or freeze-thaw cycles.
Annual maintenance and renovations
- Use wall checks to guide repainting, patching, or upgrades before major work.
- Confirm new penetrations (TV mounts, plumbing, wiring) are sealed and protected.
- In commercial fit-outs, review tenant improvements for compliance and safety.
Best Practices Homeowners Can Use Between Inspections
You can prevent many drywall problems by controlling moisture, watching for new cracks or stains, and acting on small issues early. Keep gutters working, seal around penetrations, and note seasonal changes. If you spot patterns, schedule an inspection to document and address root causes.
While a professional visit is best for diagnostics, these habits keep risk low and make every inspection more productive.
- Manage water first: Keep gutters clear and downspouts extended; check splashback areas.
- Watch seams and corners: New hairline cracks or ridges often follow seasonal shifts.
- Check high-risk rooms: Bathrooms, kitchens, and laundry rooms show early warning signs.
- Record changes: Take date-stamped photos so trends are easy to compare later.
- Mind fasteners: Popped screws often indicate framing movement or missed studs.
- Call when patterns persist: Repeating stains or recurring cracks deserve a professional look.
When issues mount, our residential inspection pulls everything into a same-day PDF with photos and an action plan that’s easy to share with contractors or agents.
Tools and Resources Inspectors Rely On
Inspectors blend experience with instruments: moisture meters, thermal cameras, inspection lights, straightedges, and borescopes. Reference resources on framing, beads, and assemblies inform what “good” looks like. The goal is clear evidence and practical guidance—not guesswork.
We match the tool to the symptom. Subtle stains get moisture readings and thermal scans. Wavy walls get straightedge checks. Suspect cavities get a borescope peek (with owner permission) to verify what’s happening behind the surface.
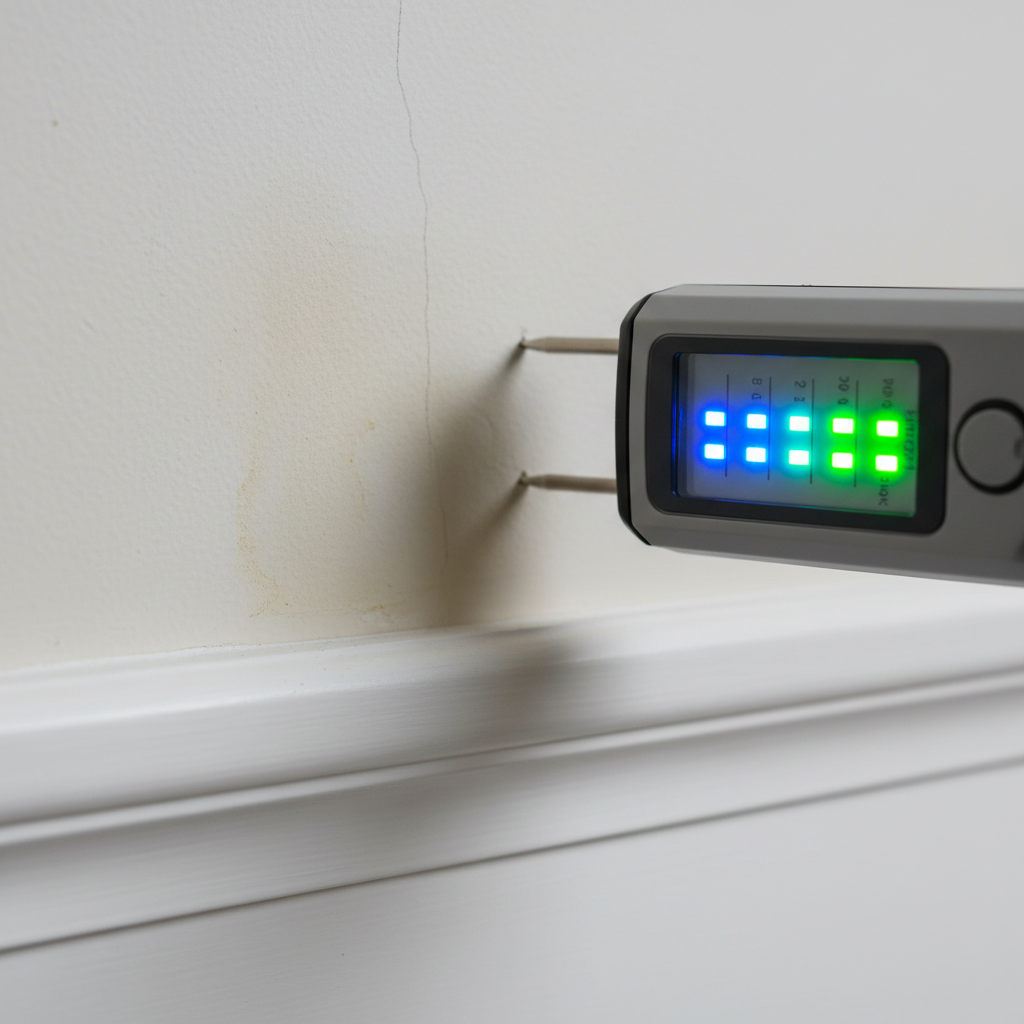
- Moisture meter: Pin and pinless models help compare suspect spots to nearby controls.
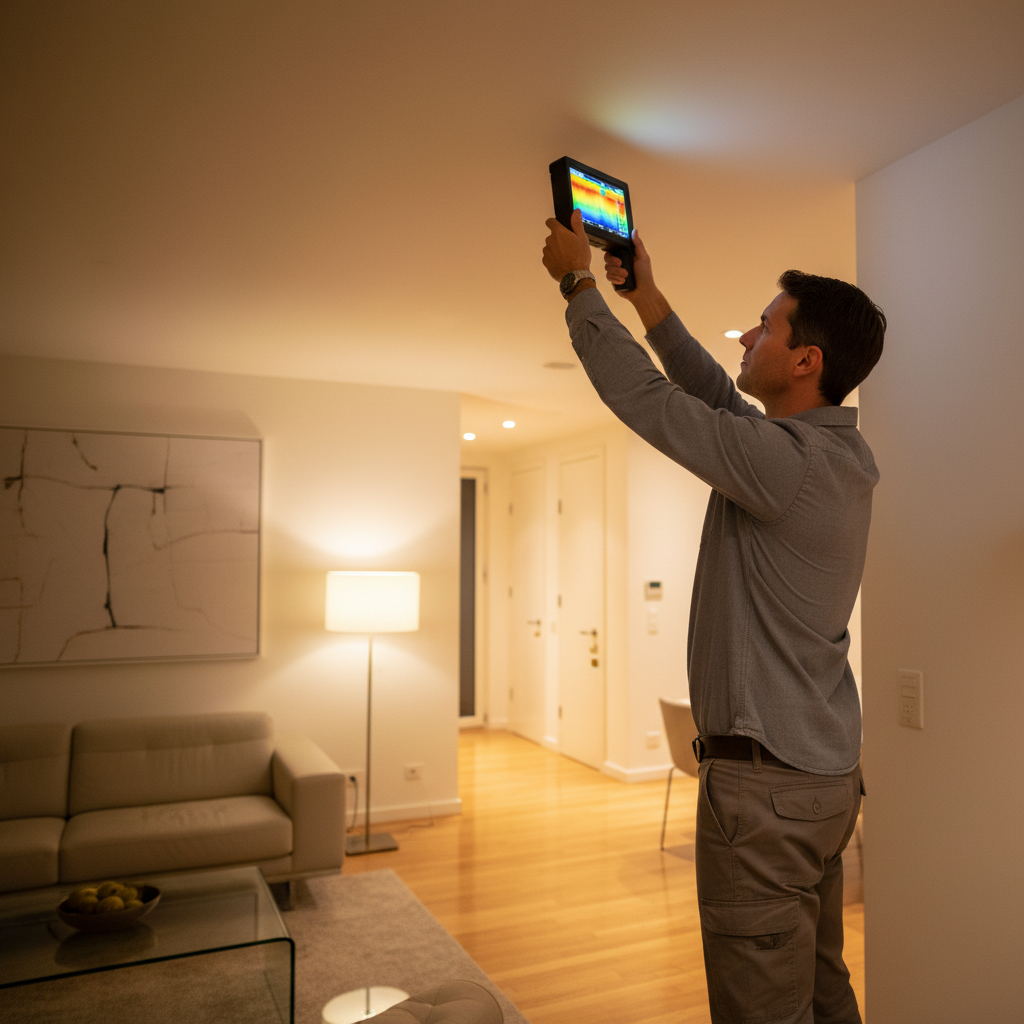
- Thermal camera: Highlights cold seams, insulation voids, or hidden dampness.
- Inspection lighting: Rakes light across the surface to reveal ridges and sanding flaws.
- Straightedge/levels: Confirms flatness and finish expectations.
- Borescope: Views interior cavities to confirm leaks or missing insulation.
Curious about framing and bead details? See these industry resources on drywall and metal studs and corner bead installation for context on why certain defects appear and how pros expect assemblies to be built. Codes and practices update; we keep our playbook current.
Working on basements or lower levels? This primer on basement framing codes explains why moisture management, insulation, and separation details matter before drywall goes up.
Case Studies and Real-World Examples
The fastest way to see value is through examples. These brief scenarios show how drywall findings translate into decisions—what to repair now, what to monitor, and how documentation helps buyers and sellers reach fair outcomes without delays.
Buyer pre-closing: recurring window-wall stains
During a pre-closing visit in the GTA, we spotted faint “ghosting” around fasteners and a light stain beneath a living room window. Moisture readings were higher than adjacent controls, and thermal imaging showed a cold vertical stripe. We recommended sealing exterior penetrations, checking window flashing, and reinspecting after rain. The documented pattern supported a repair credit with the builder.
Seller pre-listing: nail pops and tape ridges
A Suite 2000 homeowner preparing to list noticed new nail pops along a hallway and a wavy tape joint. Our inspection found consistent fastener spacing but multiple missed studs creating popped screws, plus sanding flaws visible under raking light. The seller completed targeted repairs and repainting before showings, avoiding buyer objections.
New construction: garage separation
On a new build walkthrough, we confirmed Type X boards at the garage common wall but found unsealed penetrations at the ceiling plane. Photos and annotations were included in the same-day PDF, and the builder addressed the items before final inspection—no last-minute surprises.
Annual maintenance: basement corner mystery
A client asked for an annual maintenance check after noticing a recurring basement corner stain each spring. Moisture readings spiked during wet weeks and normalized in dry periods. We traced the issue to exterior grading and downspout discharge. Once corrected, the corner stayed dry and subsequent inspections confirmed stable conditions.
If you’re facing a similar scenario, scheduling a new construction or pre-purchase inspection captures issues early and keeps your project or transaction on track.
FAQ: Drywall and Interior Wall Checks
Homeowners ask about timing, tools, and what counts as a defect. These concise answers cover the basics and help you know when to bring in a pro—especially if stains return, corners crack repeatedly, or you’re preparing to buy, sell, or renovate.
When should I schedule a drywall inspection?
Key moments include pre-drywall (framing stage), pre-closing on new or renovated homes, and during warranty windows. If you see recurring stains, nail pops, or seam cracks, schedule sooner. Annual maintenance checks also help track changes over time.
What tools do inspectors use for wall problems?
Inspectors combine moisture meters, thermal cameras, inspection lights, straightedges, and borescopes. These tools confirm whether a visual defect is cosmetic or linked to moisture, insulation voids, or air leaks—helping you prioritize repairs with evidence.
Are nail pops and hairline cracks serious?
Often they’re cosmetic and related to seasonal movement or missed studs. But if pops or cracks return after repair, or appear with stains or musty odors, it’s time for a deeper look to rule out moisture or structural movement.
What will I get in the report?
A same-day PDF with photos, annotations, and a prioritized action list. We flag safety items, urgent repairs, and maintenance suggestions. The format is easy for agents, contractors, and owners to share and reference during negotiations or work planning.
Conclusion and Next Steps
Dry wall inspection turns walls into data. With targeted diagnostics and clear reporting, you can catch moisture early, verify workmanship, and protect safety and value. If you’re buying, selling, or maintaining a property, an inspection gives you leverage and peace of mind—fast.
Here are the key takeaways and how to move forward with confidence.
Key takeaways
- Drywall checks reveal moisture, finish defects, and missing safety details before they escalate.
- Thermal and moisture diagnostics separate cosmetic from consequential issues.
- Timing matters: pre-drywall, pre-closing, warranty, and annual cycles answer different questions.
- A same-day PDF report lets you act quickly with photos and priorities.
Action steps
- Walk your home for new cracks, stains, or pops—photograph anything that’s changed.
- Note rooms with past leaks or condensation and flag them for extra attention.
- Book a certified inspection to document conditions, especially before closing or listing.
- Use the report as a roadmap to coordinate repairs or builder follow-ups.
Need a fast turnaround for a GTA property? Our same-day PDF report keeps your timeline intact while ensuring nothing critical gets missed.
Related Articles in Our Inspection Series
Dry wall inspection is part of a larger interior and systems evaluation. Explore pre-purchase, pre-listing, new construction, and annual maintenance insights to build a complete picture of property health and safety.
Want a broader overview of our Inspection pillar topics—like pre-purchase, pre-listing, new construction, move-in, and annual maintenance? Start with our main site and navigate to the service that fits your next decision: ASM Home & Commercial Inspection. You’ll find how we evaluate roofs, foundations, plumbing, electrical, HVAC, and more alongside interior surfaces like drywall.