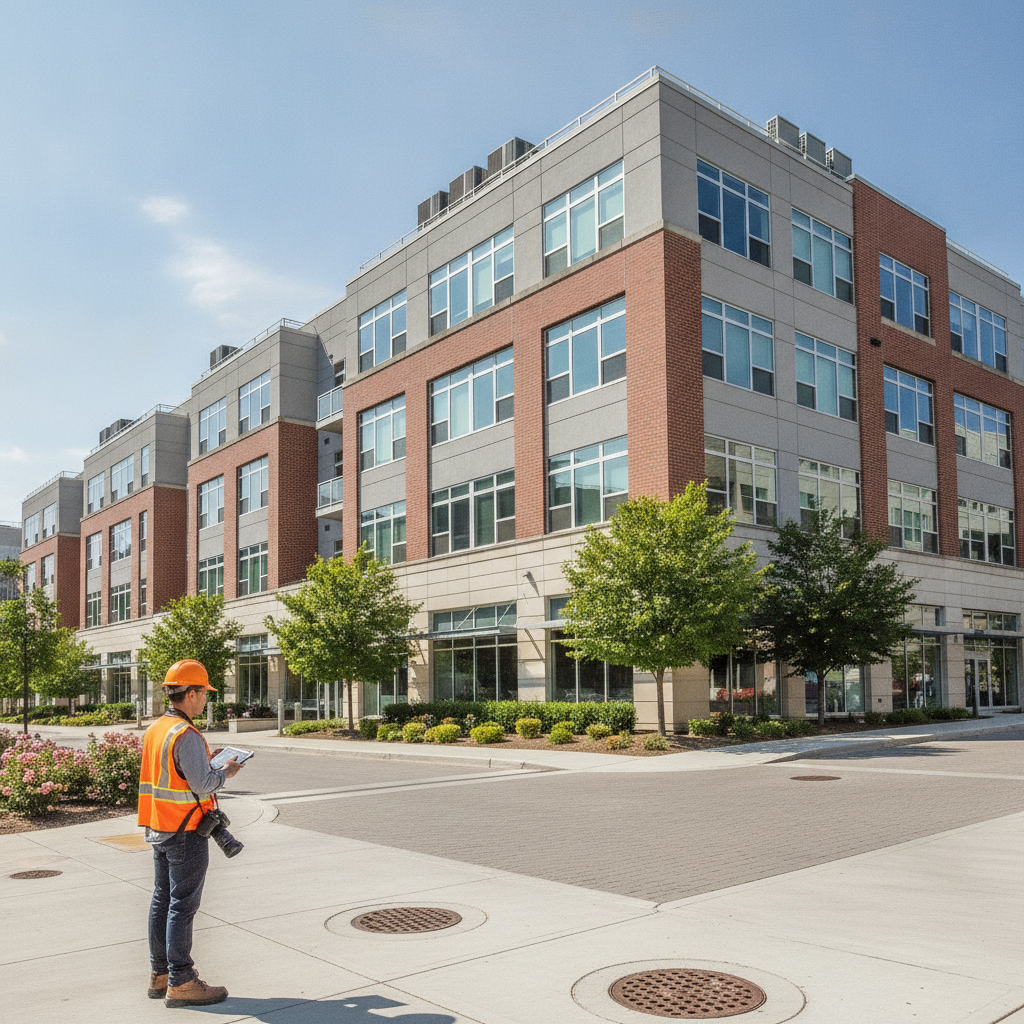
Commercial property environmental inspection is a due-diligence evaluation that identifies contamination, moisture, indoor air quality, and hazardous-material risks before purchase or lease. It documents liabilities and safety issues so you can make informed decisions and negotiate repairs or credits. For organizations in Suite 2000, Toronto, ON, this inspection supports cleaner operations and safer occupancy across the GTA.
By Asmhomeinspection · Last updated: 2026-06-15
Above the Fold: What You’ll Learn
Use this guide to plan a commercial environmental inspection from first inquiry to final report. You’ll learn what’s included, when to escalate to sampling, how to interpret findings, and how to prevent moisture, IAQ, and hazardous-material risks from derailing a deal or disrupting operations.
- What it is: A practical definition of commercial property environmental inspection aligned with common lender expectations.
- Why it matters: Reduce liability, unplanned cleanup, and operational downtime with clear, documented findings.
- How it works: Step-by-step process, realistic timelines, and documentation to request from day one.
- Standards in practice: Records review, site walk, moisture/IAQ screening, and targeted sampling when evidence supports it.
- Outcomes: Actionable recommendations to negotiate, plan mitigation, and maintain compliance readiness.
- Local support: Service coverage across the GTA from Asmhomeinspection with same‑day PDF reports.
Quick Summary
A commercial environmental inspection flags site and building conditions that impact health, safety, and value. Inspectors review history, interview stakeholders, walk the site, and document red flags like moisture, visible mold, odors, staining, improper storage, or distressed vegetation. Findings inform negotiations, insurance, and operational planning.
- Primary goal: Identify recognized environmental conditions and building-related risks before closing.
- Common triggers: Financing, portfolio due diligence, tenant improvements, or a planned sale/lease.
- Outputs: A clear narrative report, photo evidence, risk ratings, and next-step recommendations.
- When to upgrade: Historical industrial use, fill material, or petroleum storage may justify targeted testing.
- Who benefits: Buyers, tenants, sellers, lenders, insurers, and facility managers.
What Is a Commercial Property Environmental Inspection?
A commercial property environmental inspection evaluates site conditions that could harm occupants, damage buildings, or trigger cleanup liability. It screens for contamination sources, moisture and mold indicators, indoor air concerns, and hazardous materials so stakeholders can quantify risk and plan mitigation before transactions close.
In plain terms, it’s a risk scan for the land and building you’re buying, leasing, or renovating. We look for evidence of releases, water intrusion, poor ventilation, and suspect materials that may require specialized handling. That clarity lets you negotiate confidently and manage exposure.
- Scope highlights: Site history review, visual survey, interviews, and documentation of potential environmental concerns.
- Built-environment focus: Roof drainage, facades, mechanical rooms, plumbing, and areas prone to leaks or condensation.
- Site focus: Stormwater paths, catch basins, loading areas, waste storage, landscaping, and evidence of stressed vegetation.
- Report deliverable: Same-day PDF summaries are available from Asmhomeinspection for time-sensitive decisions.
For our commercial clients across the GTA, we integrate environmental screening into broader property assessments so you get one coordinated view of condition, safety, and compliance readiness.
Why Environmental Due Diligence Matters
Environmental due diligence protects people, assets, and deal value. It reduces post-closing surprises, informs insurance and lender decisions, and supports safer operations. Early discovery of moisture, IAQ, or hazardous-material issues is usually far easier to manage than emergency response later.
Here’s the thing—unknown environmental risks can stall financing, complicate leasing, and create avoidable downtime. A practical inspection aligns expectations, prioritizes fixes, and documents good-faith effort. Lenders, insurers, and risk managers rely on this trail when underwriting exposure.
- Protect health: Wet materials in warm, humid interiors can support microbial growth quickly if ventilation is poor.
- Protect value: Drainage issues, corrosion, or chemical staining often hint at underlying maintenance needs.
- Protect timelines: Documented findings become leverage for access, repairs, or credits rather than deal-breakers.
- Decision speed: Our same-day PDF reporting from Asmhomeinspection keeps negotiations moving.
Buyers and tenants use these reports to set realistic maintenance plans, while sellers use them to preempt objections with corrective actions or disclosures.
How the Process Works (Step-by-Step)
The process starts with records review and a site walk, followed by interviews and photo documentation. Inspectors flag recognized environmental conditions and building moisture risks, then issue a concise report with next steps. If evidence points to contamination, targeted sampling is recommended.
- Kickoff call: Define property use, history, planned renovations, and lender expectations. Share prior reports if available.
- Desktop review: Collect permits, historical aerials, prior renovations, and available maintenance logs.
- Site survey: Exterior drainage, loading areas, waste storage, utilities, and landscaped zones are visually checked.
- Building survey: Mechanical rooms, plumbing chases, roofs, attics/ceilings, basements, and occupied areas are assessed for moisture and ventilation issues.
- Interviews: Talk with owners, facility staff, or tenants about leaks, odors, or past incidents.
- Documentation: Photos and notes capture staining, corrosion, ponding, or suspect materials for the record.
- Report: Same-day PDF highlights concerns, risk ratings, and practical recommendations you can act on.
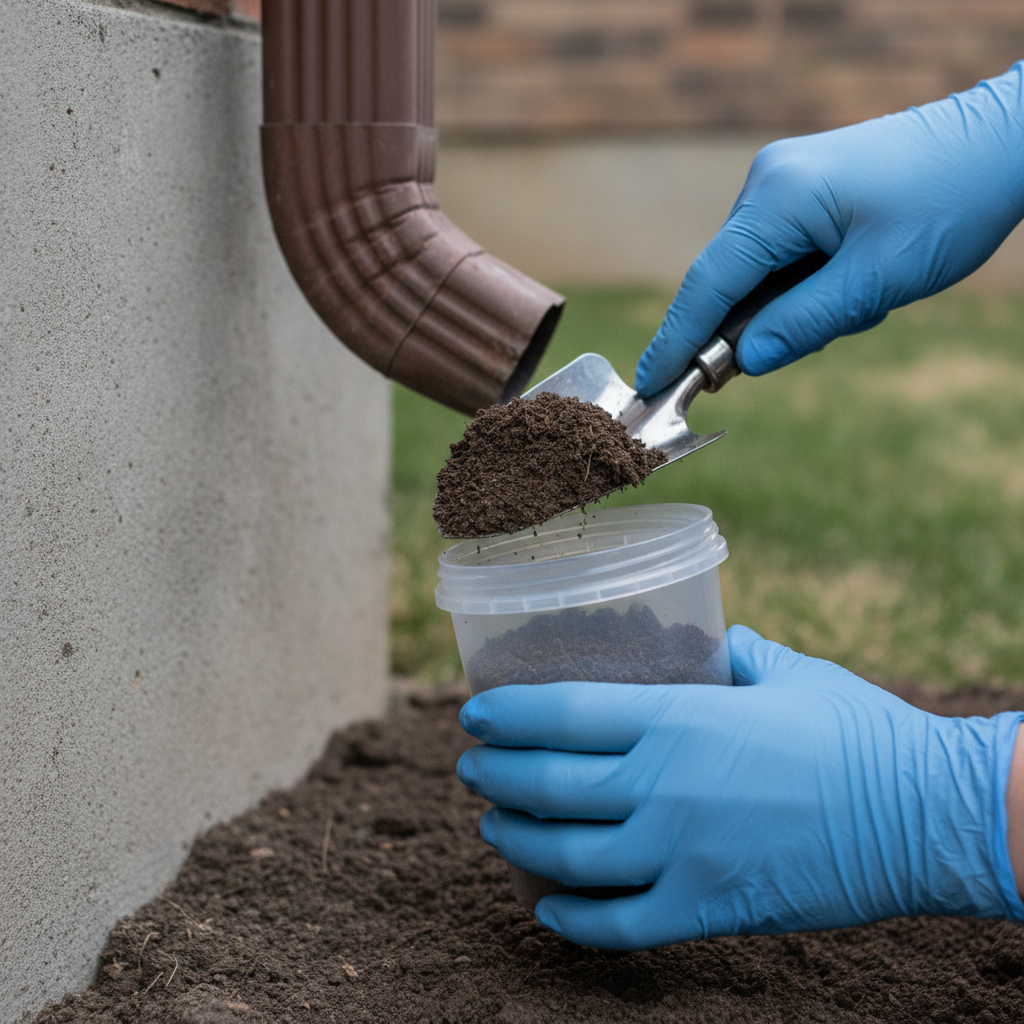
- Next steps: If warranted, targeted testing (e.g., soil/soil vapor, bulk materials) is scoped as a follow-on by specialists.
In our experience inspecting retail, restaurant, office, industrial, and hospitality properties, a structured process like this uncovers issues early—when they’re easiest to fix.
Types and Methods Used in Commercial Environmental Screening
Environmental screening ranges from a high-level records-and-visual review to targeted sampling of soil, water, air, or materials. The right method depends on property history, visible red flags, and transaction needs. Start light, then escalate only when evidence supports it.
Common Screening Elements We Integrate
- Historical desktop review: Property use changes, adjacent land use, aerials, permits, and any past incidents.
- Moisture and IAQ indicators: Water stains, efflorescence, musty odors, condensation at ductwork, or persistent humidity.
- Hazardous-material risk cues: Legacy materials (asbestos/lead), chemical storage, batteries, maintenance solvents, or machine oils.
- UST/AST observations: Fill ports, vent pipes, dispenser islands, or unusual settlement near former fuel areas.
- Stormwater paths: Grading, roof drains, downspouts, catch basins, and evidence of overflow or erosion.
When Sampling Makes Sense
- Soil/soil vapor: Former fueling, dry cleaning, printing, or manufacturing footprints may warrant borings or vapor points.
- Water: Stained sumps or oily sheens in catch basins justify screening for petroleum hydrocarbons or solvents.
- Bulk materials: Suspect insulation, flooring mastics, or pipe wrap can be analyzed to confirm asbestos or lead.
- Air: Persistent odors or comfort complaints can be investigated with targeted IAQ screening.
Comparison: Environmental vs. Building Condition vs. Compliance
| Assessment | Main Focus | Primary Output | When to Use |
|---|---|---|---|
| Environmental Screening | Contamination, moisture, IAQ, hazardous materials | Risk flags, recommendations, optional sampling scope | Any transaction; escalate if evidence supports |
| Property Condition Assessment (PCA) | Systems, structure, deferred maintenance, capital needs | Systems inventory, deficiencies, priority repairs | Buy/lease decisions, budgeting, reserves planning |
| Compliance-Oriented Review | Policies, labeling, storage, safety practices | Corrective actions and training focus | Operational readiness, internal audits, certifications |
We combine these perspectives so stakeholders get a single, practical playbook to eliminate surprises and keep projects on schedule.
Phase I vs. Phase II: What to Expect
A Phase I-style review relies on records and a visual site/building survey to flag recognized environmental conditions. Phase II work uses sampling to confirm or rule out impacts. Use Phase I-style screening broadly; reserve Phase II testing for evidence-based concerns.
Many commercial deals move forward with an initial screening that summarizes history, observations, and risk-based recommendations. Only when there’s credible evidence—like former fueling, dry-cleaning operations, or visible sheens—does targeted sampling become the prudent next step. That escalation saves time and focuses resources where they matter.
- Phase I-style focus: History, interviews, reconnaissance, and practical recommendations.
- Phase II focus: Sampling design, lab analysis, and interpretation relative to regulatory benchmarks.
- Decision lens: Is there enough evidence to justify borings, vapor points, or material testing before you close?
We help clients frame this decision with clear photos, location notes, and a short rationale that stakeholders can evaluate quickly.
Standards, Lender Expectations, and Practical Benchmarks
Most lenders expect a consistent, well-documented environmental review that’s easy to compare across properties. Clear photos, simple risk ratings, and evidence-based escalation requests keep underwriting comfortable and deals on track.
Based on real-estate due-diligence trends, environmental reviews, condition assessments, and life-safety checks are core to commercial transactions. See the placement of environmental checks in this due diligence checklist for context alongside title, zoning, and insurance.
- Consistency: Use a repeatable template so portfolio properties can be compared side by side.
- Documentation: Photos and succinct narratives travel well between buyers, sellers, and lenders.
- Escalation: Base any sampling on visible evidence, history, or specific lender/insurer requests.
- Timing: Early scheduling protects closing dates; our same-day PDF reports accelerate negotiations.
In our experience, clean documentation and simple grading help non-technical decision-makers prioritize actions quickly.
Building Risks You Can Spot Fast
Many environmental red flags are visible without instruments: staining, efflorescence, odors, corroded drains, and ponding water. Quick, systematic checks of roofs, mechanical rooms, and drainage paths reveal moisture sources early—often the root cause of IAQ complaints and premature system failures.
- Roof and drainage: Look for ponding, clogged scuppers, separated seams, and downspouts terminating too close to the building.
- Mechanical rooms: Corrosion, condensate leaks, dirty coils, and missing insulation point to inefficiencies and moisture risks.
- Interiors: Musty odors, ceiling stains, baseboard swelling, and soft drywall suggest active or past leaks.
- Site: Oil staining at loading zones, distressed vegetation, or sheen in catch basins deserves further inquiry.
When we deliver a same-day PDF, photos of these observations help everyone align on root causes, responsibilities, and scheduling for corrective work.

Common Contaminants and Where They Hide
The usual suspects include petroleum hydrocarbons, chlorinated solvents, metals, and legacy building materials like asbestos and lead. Visual cues—stains, stressed vegetation, and suspect insulation—often point to where impacts might be present and whether specialized handling is needed.
Property and Site Indicators
- Hydrocarbon risks: Sheen in catch basins, stained loading docks, or vent/fill hardware indicating current or former fuel storage.
- Solvent risks: Historical printing, dry cleaning, or parts washing activities in tenant bays.
- Metals and salts: Corrosion at drains, efflorescence on masonry, or distressed vegetation in low spots.
Building Material Indicators
- Asbestos potential: Pipe wrap, 9x9 floor tiles, or certain mastics/insulation in older buildings.
- Lead-based paint: Older painted surfaces in mechanical rooms or back-of-house areas.
- Mold support: Wet drywall, ceiling tiles below roof drains, and saturated insulation near cold piping.
Our environmental screen captures these clues in photos with location context so follow-up actions are clear and targeted.
Best Practices to Lower Risk Before You Close
Start environmental screening early, document everything with photos, and keep scope proportional to evidence. Fix drainage and ventilation issues fast, and escalate to testing only when history or observations justify it. This preserves timelines and focuses effort where it matters.
- Sequence smartly: Run environmental screening alongside your broader building walk to share access and reduce rework.
- Fix water first: Redirect downspouts, clear drains, and repair flashing to stop moisture at its source.
- Ventilate well: Verify outside-air intake is open and filters are seated to reduce odors and humidity spikes.
- Label and store properly: Segregate chemicals, provide secondary containment, and keep spill kits visible.
- Close the loop: Re-inspect after repairs; update the report so lenders and tenants see documented resolution.
- Stay organized: Save your report PDF and photos in your transaction folder and facilities plan.
We’ve found that these fundamentals prevent most “deal shock” moments and make post-close operations smoother for tenants and staff.
Tools and Resources Inspectors Use
Inspectors rely on cameras, moisture meters, thermal imaging, and ventilation checks to trace problems to their source. Organized templates, annotated photos, and same-day PDFs translate field observations into actionable steps for buyers, tenants, and lenders.
- Moisture detection: Pin/pinless meters, thermal patterns, and careful visual confirmation.
- IAQ indicators: Vent position, filter condition, condensate routing, and occupant feedback.
- Site observations: Drainage slopes, catch-basin conditions, waste storage, and traffic patterns.
- Documentation: Photo logs with context captions and simple risk ratings.
- Reporting: Same-day PDF delivery from Asmhomeinspection keeps momentum high.
A tidy report is more than a record—it’s your roadmap for negotiations, repairs, and confident handover.
Case Studies and Real-World Examples (GTA)
Practical examples show how small clues prevent big problems. In retail, a stained loading area led to a quick containment fix. In office space, closed outside-air dampers explained IAQ complaints. In hospitality, roof drain repairs ended chronic ceiling leaks and musty odors.
- Retail/restaurant unit: Dark staining near a dumpster pad pointed to improper waste handling. We documented the issue and recommended secondary containment and staff training. The seller addressed it pre-close, removing a potential objection.
- Office floor build-out: Occupants reported odors on humid days. Inspection found closed outside-air dampers and saturated filters. Restoring ventilation and replacing filters resolved comfort and odor issues ahead of tenant move-in.
- Hospitality property: Ceiling tiles showed recurring stains below a roof drain. Clearing debris, re-sealing roof penetrations, and extending downspouts reduced interior humidity swings and eliminated stains on re-inspection.
- Light industrial bay: Corrosion under a condensate line revealed a slow leak. Insulation repair and rerouting condensate to a proper drain stopped the drip and prevented slab staining.
These scenarios are typical of what we see in Toronto-area properties we inspect: quick fixes with outsized impact on health, comfort, and asset value.
Toronto-Area Context and Seasonal Timing
Local conditions affect inspection priorities. Freeze-thaw cycles, spring rains, and humid summers demand extra attention to roof drainage, grading, and ventilation. Planning around seasonal patterns speeds access, improves findings, and makes corrective work more predictable.
Local considerations for Suite 2000
- Seasonal drainage: Plan exterior walks after heavy rain to observe real stormwater behavior and spot ponding or overflows quickly.
- Humidity spikes: Summer humidity can drive IAQ complaints. Confirm outside-air intake and dehumidification strategies before tenant move-ins.
- Portfolio rhythm: Align inspections across your GTA sites on a shared template to compare risks consistently and schedule repairs in batches.
Coordinating visits during shoulder seasons (spring/fall) often produces the best mix of roof access, interior comfort, and drainage visibility.
Documentation Lenders and Insurers Want to See
Concise, visual evidence speeds underwriting. Expect to provide a summary letter, annotated photos, a site sketch, and a brief justification for any recommended testing. Organized files reduce back-and-forth and keep your closing date intact.
- Summary narrative: One to three pages that highlight red flags, locations, and recommended next steps.
- Photo log: Numbered images with locations and brief captions connecting each issue to a recommendation.
- Site map: Simple plan with exterior drainage features and any suspected impact areas marked.
- Follow-up record: Brief addendum documenting repairs or re-inspection outcomes ahead of close or handover.
As a cross-check on overall diligence flow (title, zoning, environmental, insurance), see this due diligence overview used by many buyers to keep files consistent.
Who Should Attend the Walkthrough
Bring someone who knows the building’s history and someone who can authorize access. A facilities lead, property manager, and buyer representative can answer questions on the spot and accelerate next steps after the report lands.
- Facilities or maintenance lead: Shares leak history, odors, past repairs, and routine challenges.
- Property manager or seller’s agent: Coordinates access to roofs, basements, mechanical rooms, and tenant spaces.
- Buyer/tenant rep: Confirms renovation plans and risk tolerance to shape recommendations.
When key players attend, we resolve access constraints in real time and shorten the path to approvals.
Common Mistakes to Avoid
Avoid starting late, ignoring drainage, and skipping ventilation checks. Don’t over-scope testing without evidence. And never file a report without photos, locations, and clear recommendations—stakeholders need a simple story they can act on.
- Scheduling the inspection too close to closing, leaving no time for fixes.
- Overlooking roof drainage and downspout terminations.
- Forgetting mechanical rooms and condensate routing.
- Ignoring tenant odor complaints that signal ventilation issues.
- Attempting broad sampling without site-specific justification.
- Delivering text-only findings with no photos or location notes.
We build our same-day PDFs to counter these pitfalls—short, visual, and decision-ready.
Safety, Communication, and On-Site Practices
Clear labeling, proper storage, and basic spill-readiness reduce risk on day one. Simple practices—segregating chemicals, maintaining ventilation, and documenting fixes—create safer workplaces and make future inspections faster and easier to pass.
Electrical and mechanical checks often intersect with environmental concerns. This electrical inspection overview shows how early detection prevents escalation—an approach we apply to drainage, ventilation, and storage as well.
- Label and isolate: Keep incompatible materials separated and containers closed.
- Ventilate and filter: Maintain filters and confirm outside-air operation, especially during humid months.
- Housekeeping: Keep loading areas and catch basins clean to reduce sheens or odors.
- Log actions: Document fixes with dates and photos; share with your insurer or lender as needed.
For more on the “catch issues early” mindset, this early-issue guide echoes our philosophy: routine checks avoid bigger problems later.
How This Relates to Your Broader Inspection Plan
Environmental screening complements full property inspections. Pairing them reduces site visits and gives you one clear narrative for decisions, insurance, and operations planning. You get both the environmental perspective and a system-by-system building health snapshot.
Our team conducts both residential and commercial inspections across the GTA, which means you can integrate environmental screening with a broader building evaluation and get a coordinated, same-day PDF. Explore commercial inspections; or align this with your pre-purchase, pre-listing, new construction, annual maintenance, and move-in checkups under one umbrella.
Need a Coordinated Environmental + Building Inspection?
If you’re planning a transaction or tenant improvements, book a combined environmental screen and building inspection. One coordinated visit, one concise report, faster decisions. Serving Toronto and the broader GTA with same-day PDFs.
Let’s make your next transaction cleaner and simpler. Schedule with Asmhomeinspection and receive a same-day PDF that integrates environmental red flags with system-by-system building insights you can act on right away.
Frequently Asked Questions
These quick answers cover timing, scope, and how to act on results. They’re designed for buyers, tenants, and lenders who need crisp, practical guidance without jargon.
What does a commercial property environmental inspection include?
It includes a records review and a visual site and building survey to flag recognized environmental conditions. Inspectors document drainage issues, moisture indicators, odors, staining, chemical storage, and legacy-material risks. If evidence supports it, they may recommend targeted sampling as a follow-on scope.
When should I escalate to sampling or a Phase II-style investigation?
Escalate when history or observations indicate potential releases—such as former fueling, dry cleaning, or visible sheens and staining. Your initial screening report should clearly justify why and where to test. Keep the scope targeted to preserve timelines and manage disruption.
How do findings affect negotiations?
Well-documented findings create leverage. Buyers can request access for repairs, credits, or seller-performed mitigation. Sellers can preempt objections by addressing quick wins—like drainage fixes or better ventilation—and sharing photos and receipts in an updated report addendum.
Can this be combined with a full commercial inspection?
Yes. Pairing environmental screening with a comprehensive property inspection reduces site visits and gives stakeholders one coherent narrative. We deliver a same-day PDF so lenders, insurers, and facility teams can align quickly on the path forward.
Key Takeaways
Start early, document clearly, and escalate only when evidence supports it. Environmental screening plus building condition insights keep deals on track and operations safer. A concise, photo-rich report turns red flags into a straightforward action plan.
- Environmental screening finds risks that impact value, safety, and schedules.
- Moisture and ventilation issues are frequent, solvable root causes.
- Photo evidence and short narratives speed stakeholder decisions.
- Coordinated inspections reduce rework and compress timelines.
- Same-day PDFs from Asmhomeinspection keep momentum high.
Conclusion: Turn Red Flags into a Plan
A commercial property environmental inspection gives you clarity when it matters most. By pairing risk screening with a building condition review, you move from uncertainty to a documented, prioritized plan—before you sign, build, or move in.
Whether you’re buying, leasing, or preparing a site for tenant improvements, you need one clear story of environmental and building risk. That’s what we deliver across Toronto and the GTA—practical findings in a same-day PDF, grounded in photos and plain-language next steps. Book with Asmhomeinspection to align your team, your lender, and your timeline.